Ansible - AWX
Ansible - AWX
Ansible
- Ansible은 근본적으로 단순한 IT 자동화 시스템. 구성 관리, 애플리케이션 배포, 클라우드 프로비저닝, 임시 작업 실행, 네트워크 자동화 및 다중 노드 오케스트레이션을 처리. Ansible은 로드 밸런서를 사용하여 다운타임 없는 롤링 업데이트와 같은 복잡한 변경을 쉽게 만들어 준다.
- 라이선스 : GPL-3.0
AWX
- Ansible 기반으로 만들어진 Web based 사용자 인터페이스, REST API, 작업엔진
- 라이선스 : apache license
- 상용버전 : Ansible Tower
우선, 설치 부터
- 1.18버전부터 AWX Operator를 이용하여 설치하도록 되어있는데 k8s를 이용해야한다.
- k8s 설치하고 클러스터를 구성하는것 자체만으로도 오래 걸리기 때문에 minikube 설치해서 진행하도록 한다.
- 사양은 아래와 같다.
2 CPUs or more
2GB of free memory
20GB of free disk space
우분투 22.04 설치
-
virtualbox에 설치 해보았다.
- 우분투 다운로드: https://ubuntu.com/download/server
- 기존 패키지 모두 업데이트 진행 중간에 나오는 서비스 재시작은 기본으로 두고 DONE선택
$ sudo apt update -y$ sudo apt upgrade -y- 서버 재시작
docker설치
- 의존성 설치
sudo apt-get install apt-transport-https ca-certificates curl gnupg-agent software-properties-common
- Docker의 공식 GPG키를 추가
curl -fsSL https://download.docker.com/linux/ubuntu/gpg | sudo apt-key add -
- Docker의 공식 apt 저장소를 추가
sudo add-apt-repository "deb [arch=amd64] https://download.docker.com/linux/ubuntu $(lsb_release -cs) stable"
- 시스템 패키지 업데이트
sudo apt-get update
- Docker 설치
sudo apt-get install docker-ce docker-ce-cli containerd.io
- Docker 상태 확인
sudo systemctl status docker
Minikube설치
- minikube 의존성 설치(docker의존성 설치에서 설치한 항목은 제외해도 된다.)
sudo apt install -y curl wget apt-transport-https
- minikube 바이너리 다운로드
curl -LO https://storage.googleapis.com/minikube/releases/latest/minikube-linux-amd64
- 설치
sudo install minikube-linux-amd64 /usr/local/bin/minikube
- 버전 확인
$ minikube versionminikube version: v1.31.1commit: fd3f3801765d093a485d255043149f92ec0a695f
- minikube 실행
$ sudo minikube start --driver=docker
-> PROVIDER_DOCKER_NEWGRP 오류 발생시
$ docker system prune
$ minikube delete
$ 재실행
-> 실행안될경우 root권한으로 --force옵션추가 실행
$ minikube start --driver=docker --force
------------------------------------------------------------------------
😄  minikube v1.31.1 on Ubuntu 22.04 (vbox/amd64)
❗  minikube skips various validations when --force is supplied; this may lead to unexpected behavior
✨  Using the docker driver based on user configuration
🛑  The "docker" driver should not be used with root privileges. If you wish to continue as root, use --force.
💡  If you are running minikube within a VM, consider using --driver=none:
📘    https://minikube.sigs.k8s.io/docs/reference/drivers/none/
📌  Using Docker driver with root privileges
👍  Starting control plane node minikube in cluster minikube
🚜  Pulling base image ...
💾  Downloading Kubernetes v1.27.3 preload ...
    > preloaded-images-k8s-v18-v1...:  314.62 MiB / 393.19 MiB  80.02% 3.64 Mi
0	> preloaded-images-k8s-v18-v1...:  393.19 MiB / 393.19 MiB  100.00% 4.71 Mi
    > gcr.io/k8s-minikube/kicbase...:  447.62 MiB / 447.62 MiB  100.00% 4.71 Mi
🔥  Creating docker container (CPUs=2, Memory=2200MB) ...
🐳  Preparing Kubernetes v1.27.3 on Docker 24.0.4 ...
    ▪ Generating certificates and keys ...
    ▪ Booting up control plane ...
    ▪ Configuring RBAC rules ...
🔗  Configuring bridge CNI (Container Networking Interface) ...
    ▪ Using image gcr.io/k8s-minikube/storage-provisioner:v5
🔎  Verifying Kubernetes components...
🌟  Enabled addons: storage-provisioner, default-storageclass
🏄  Done! kubectl is now configured to use "minikube" cluster and "default" namespace by default
AWX 훑어 보기
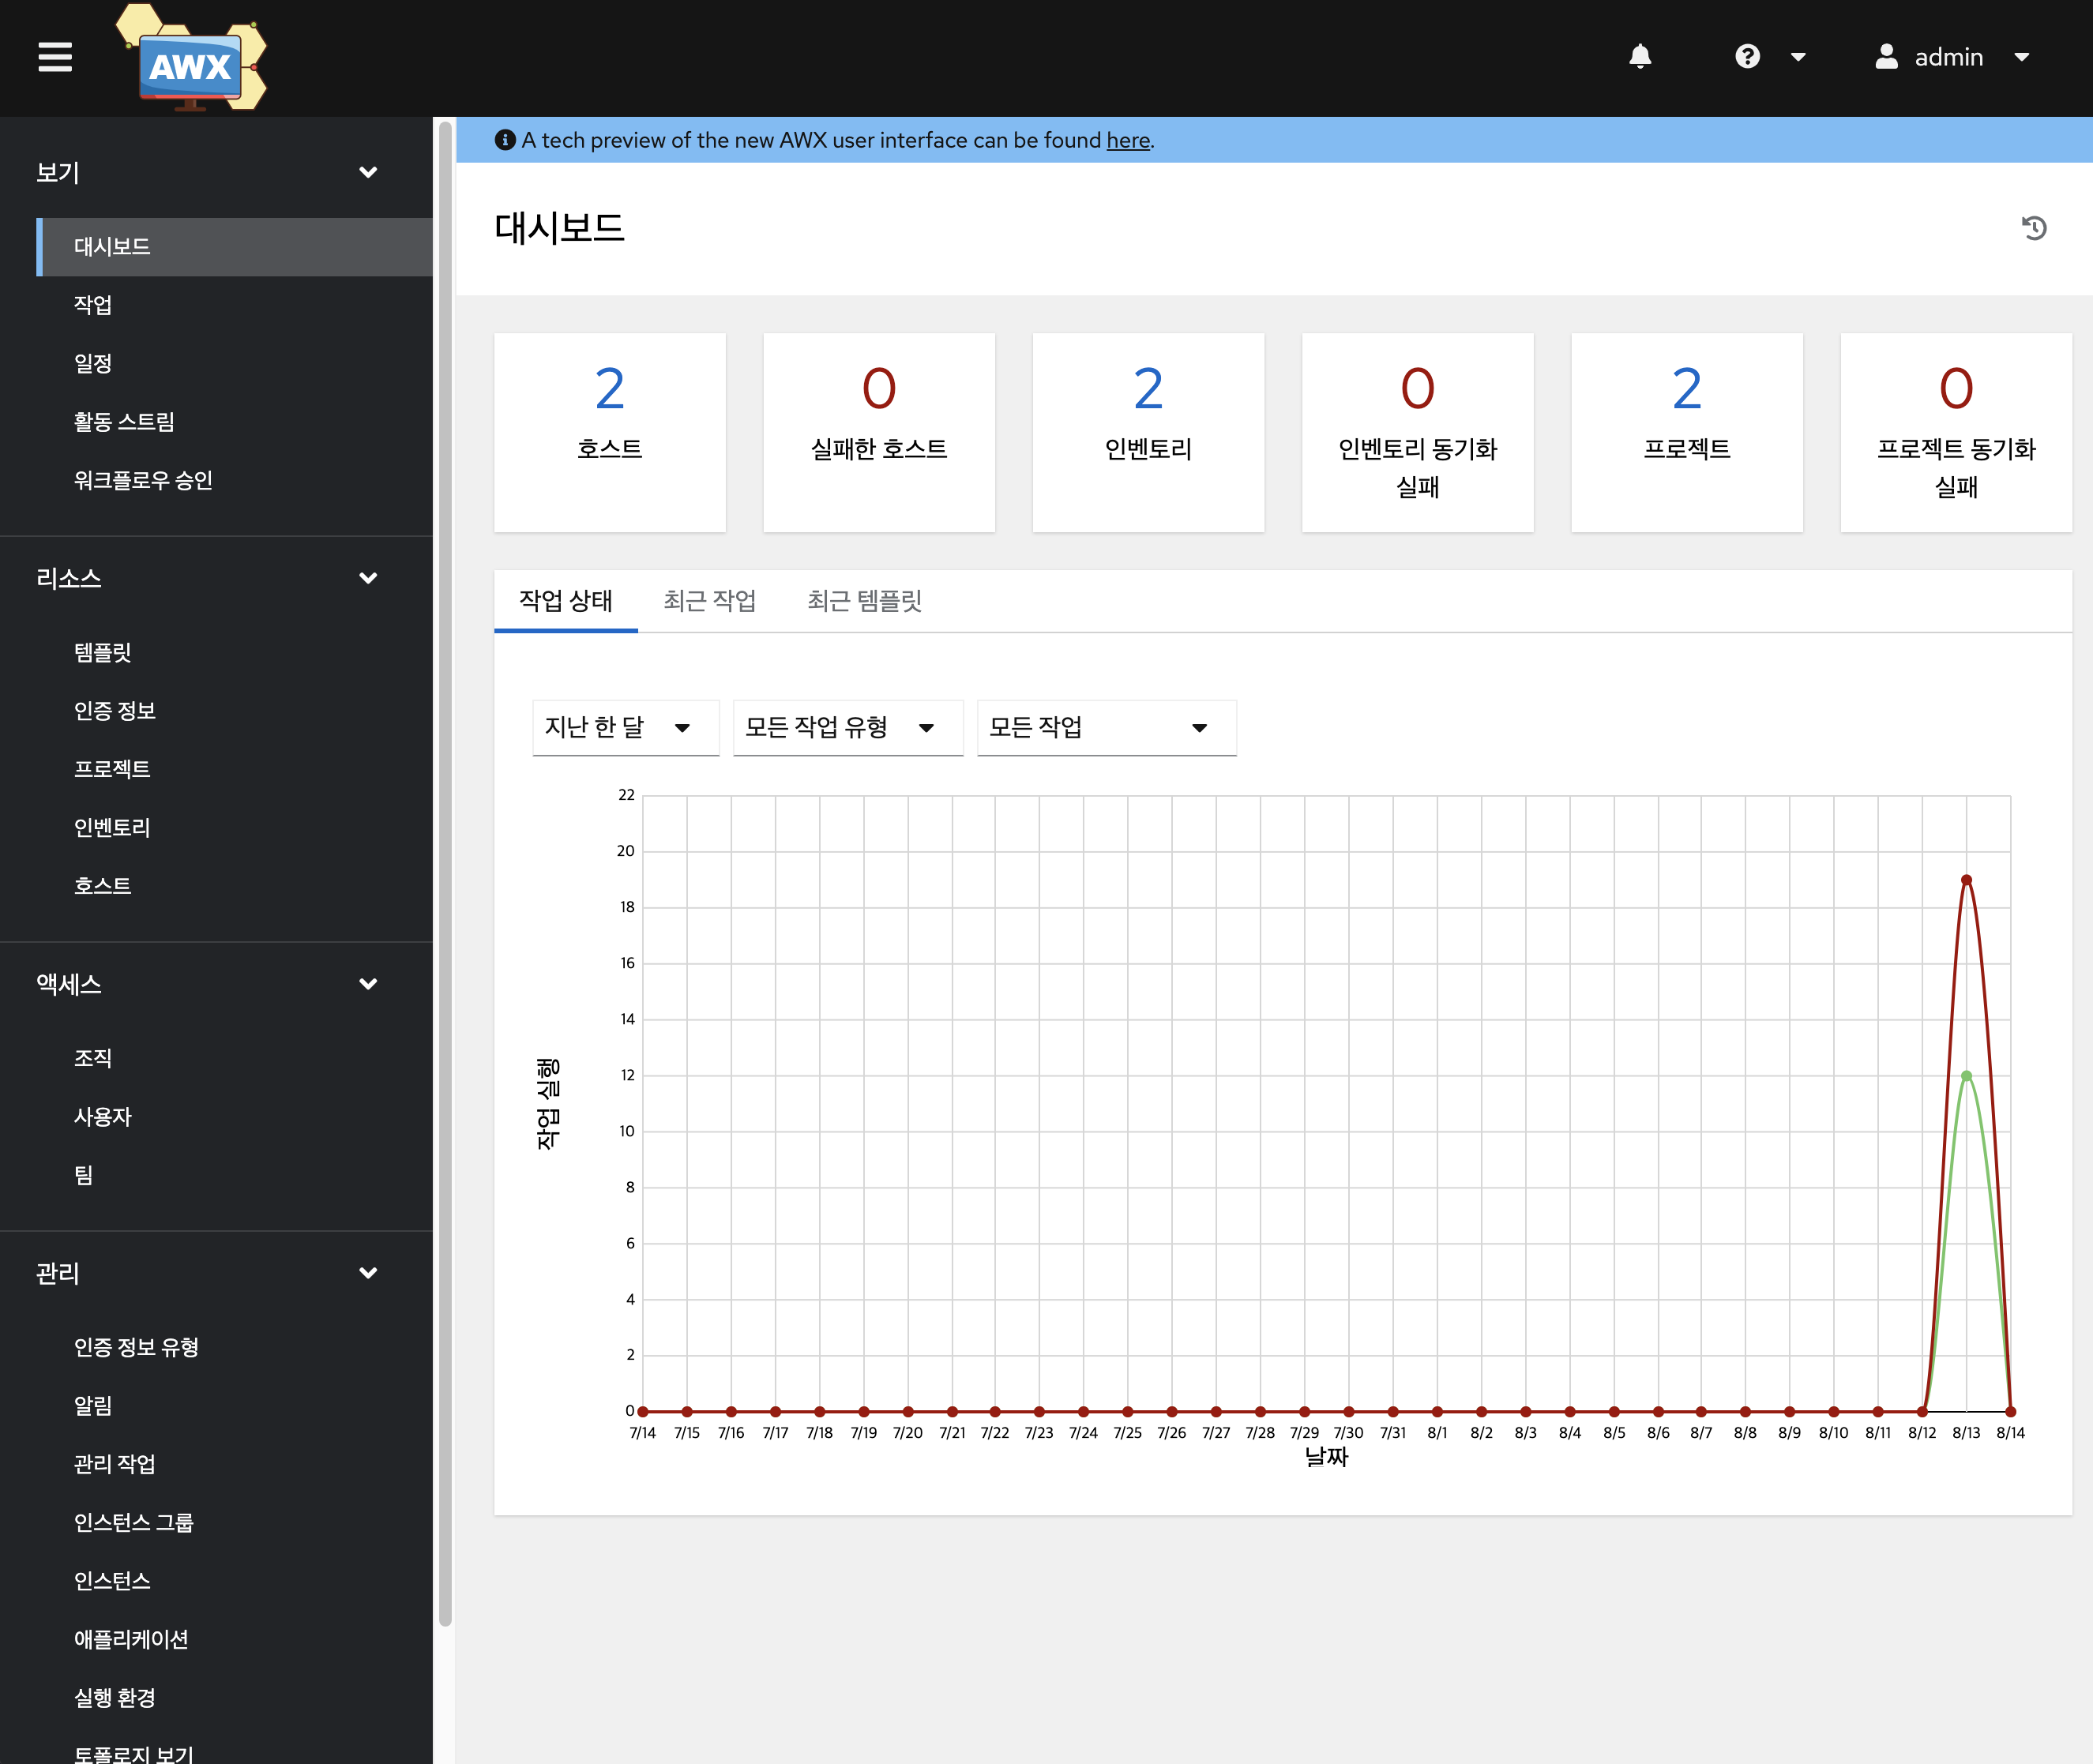
서버 구성 맛보기
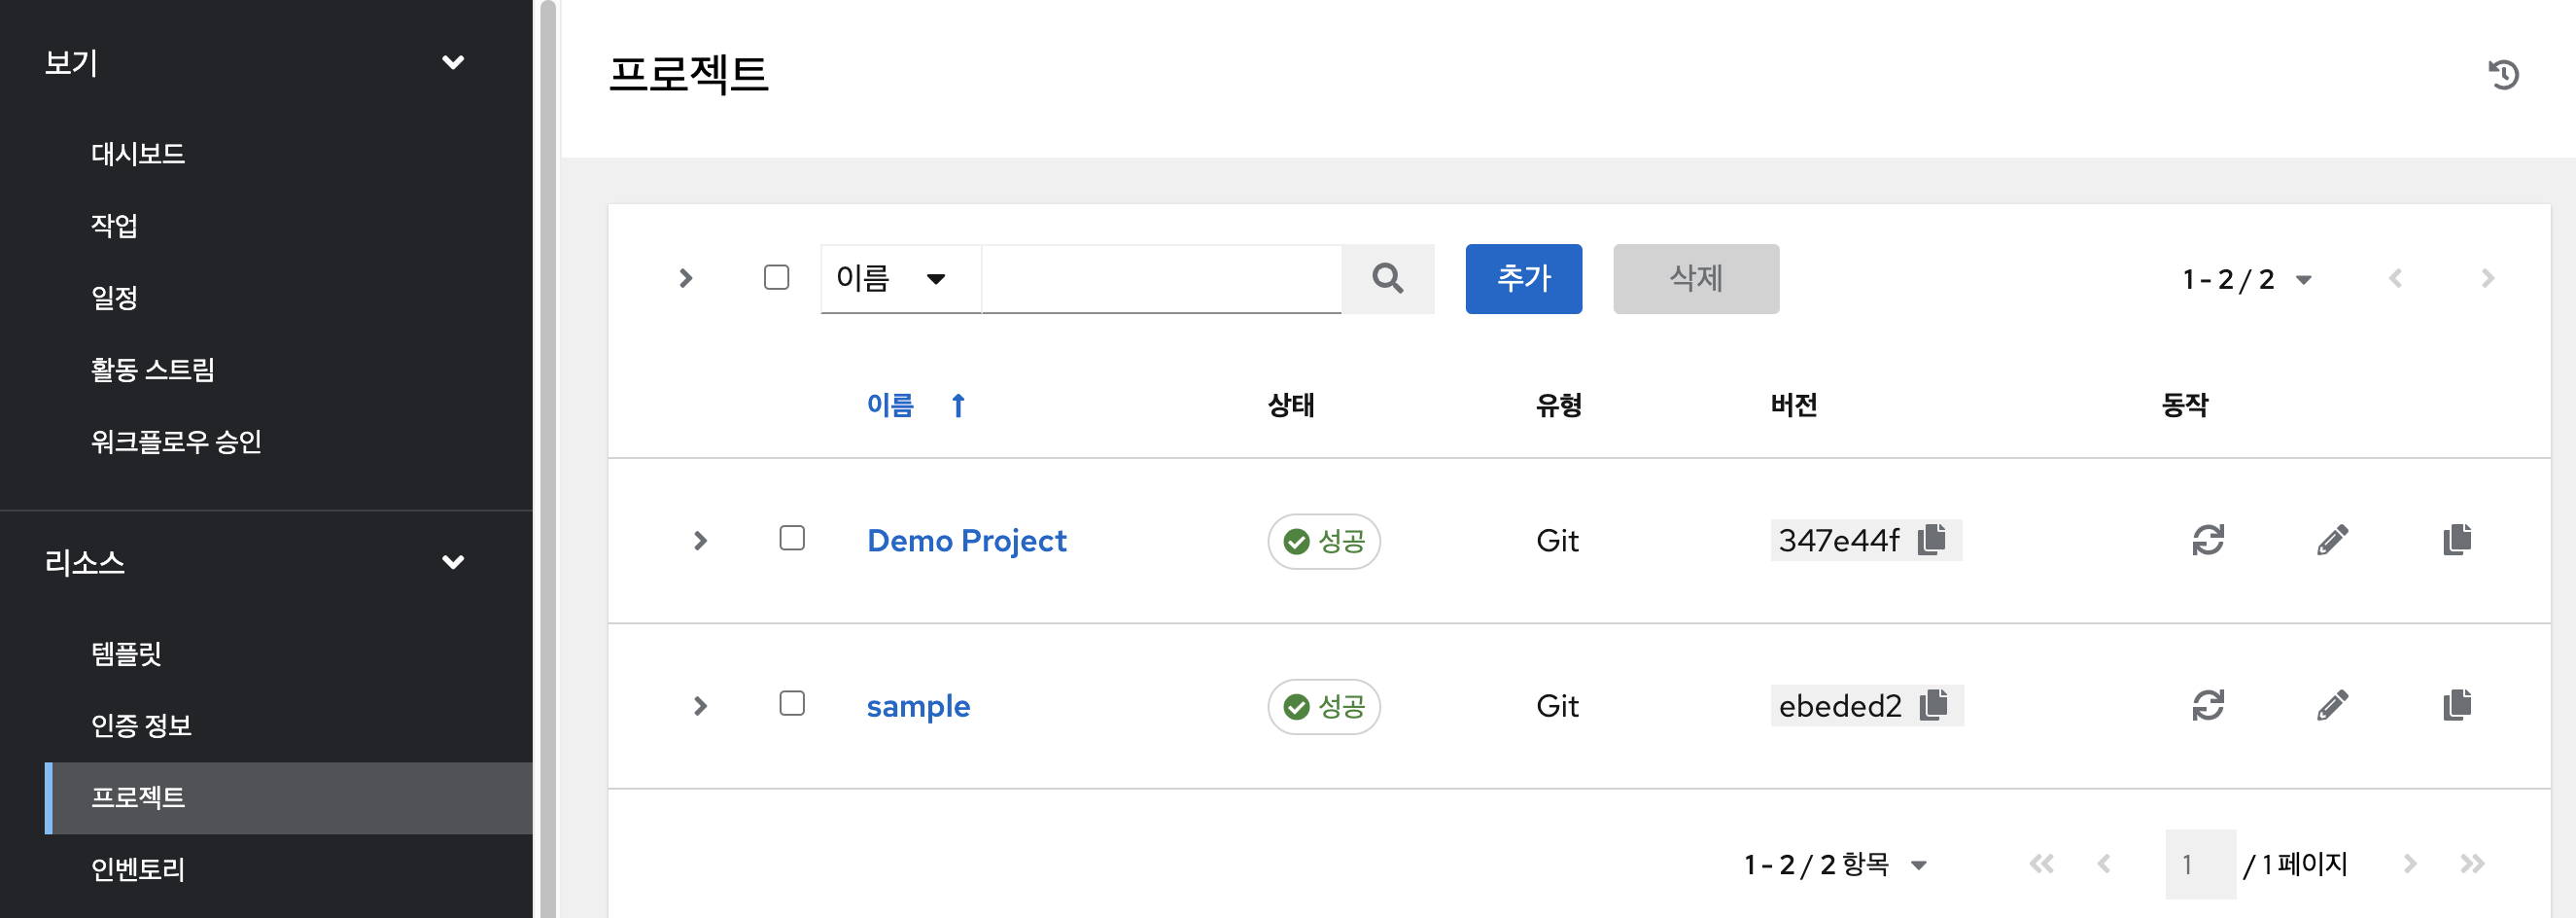
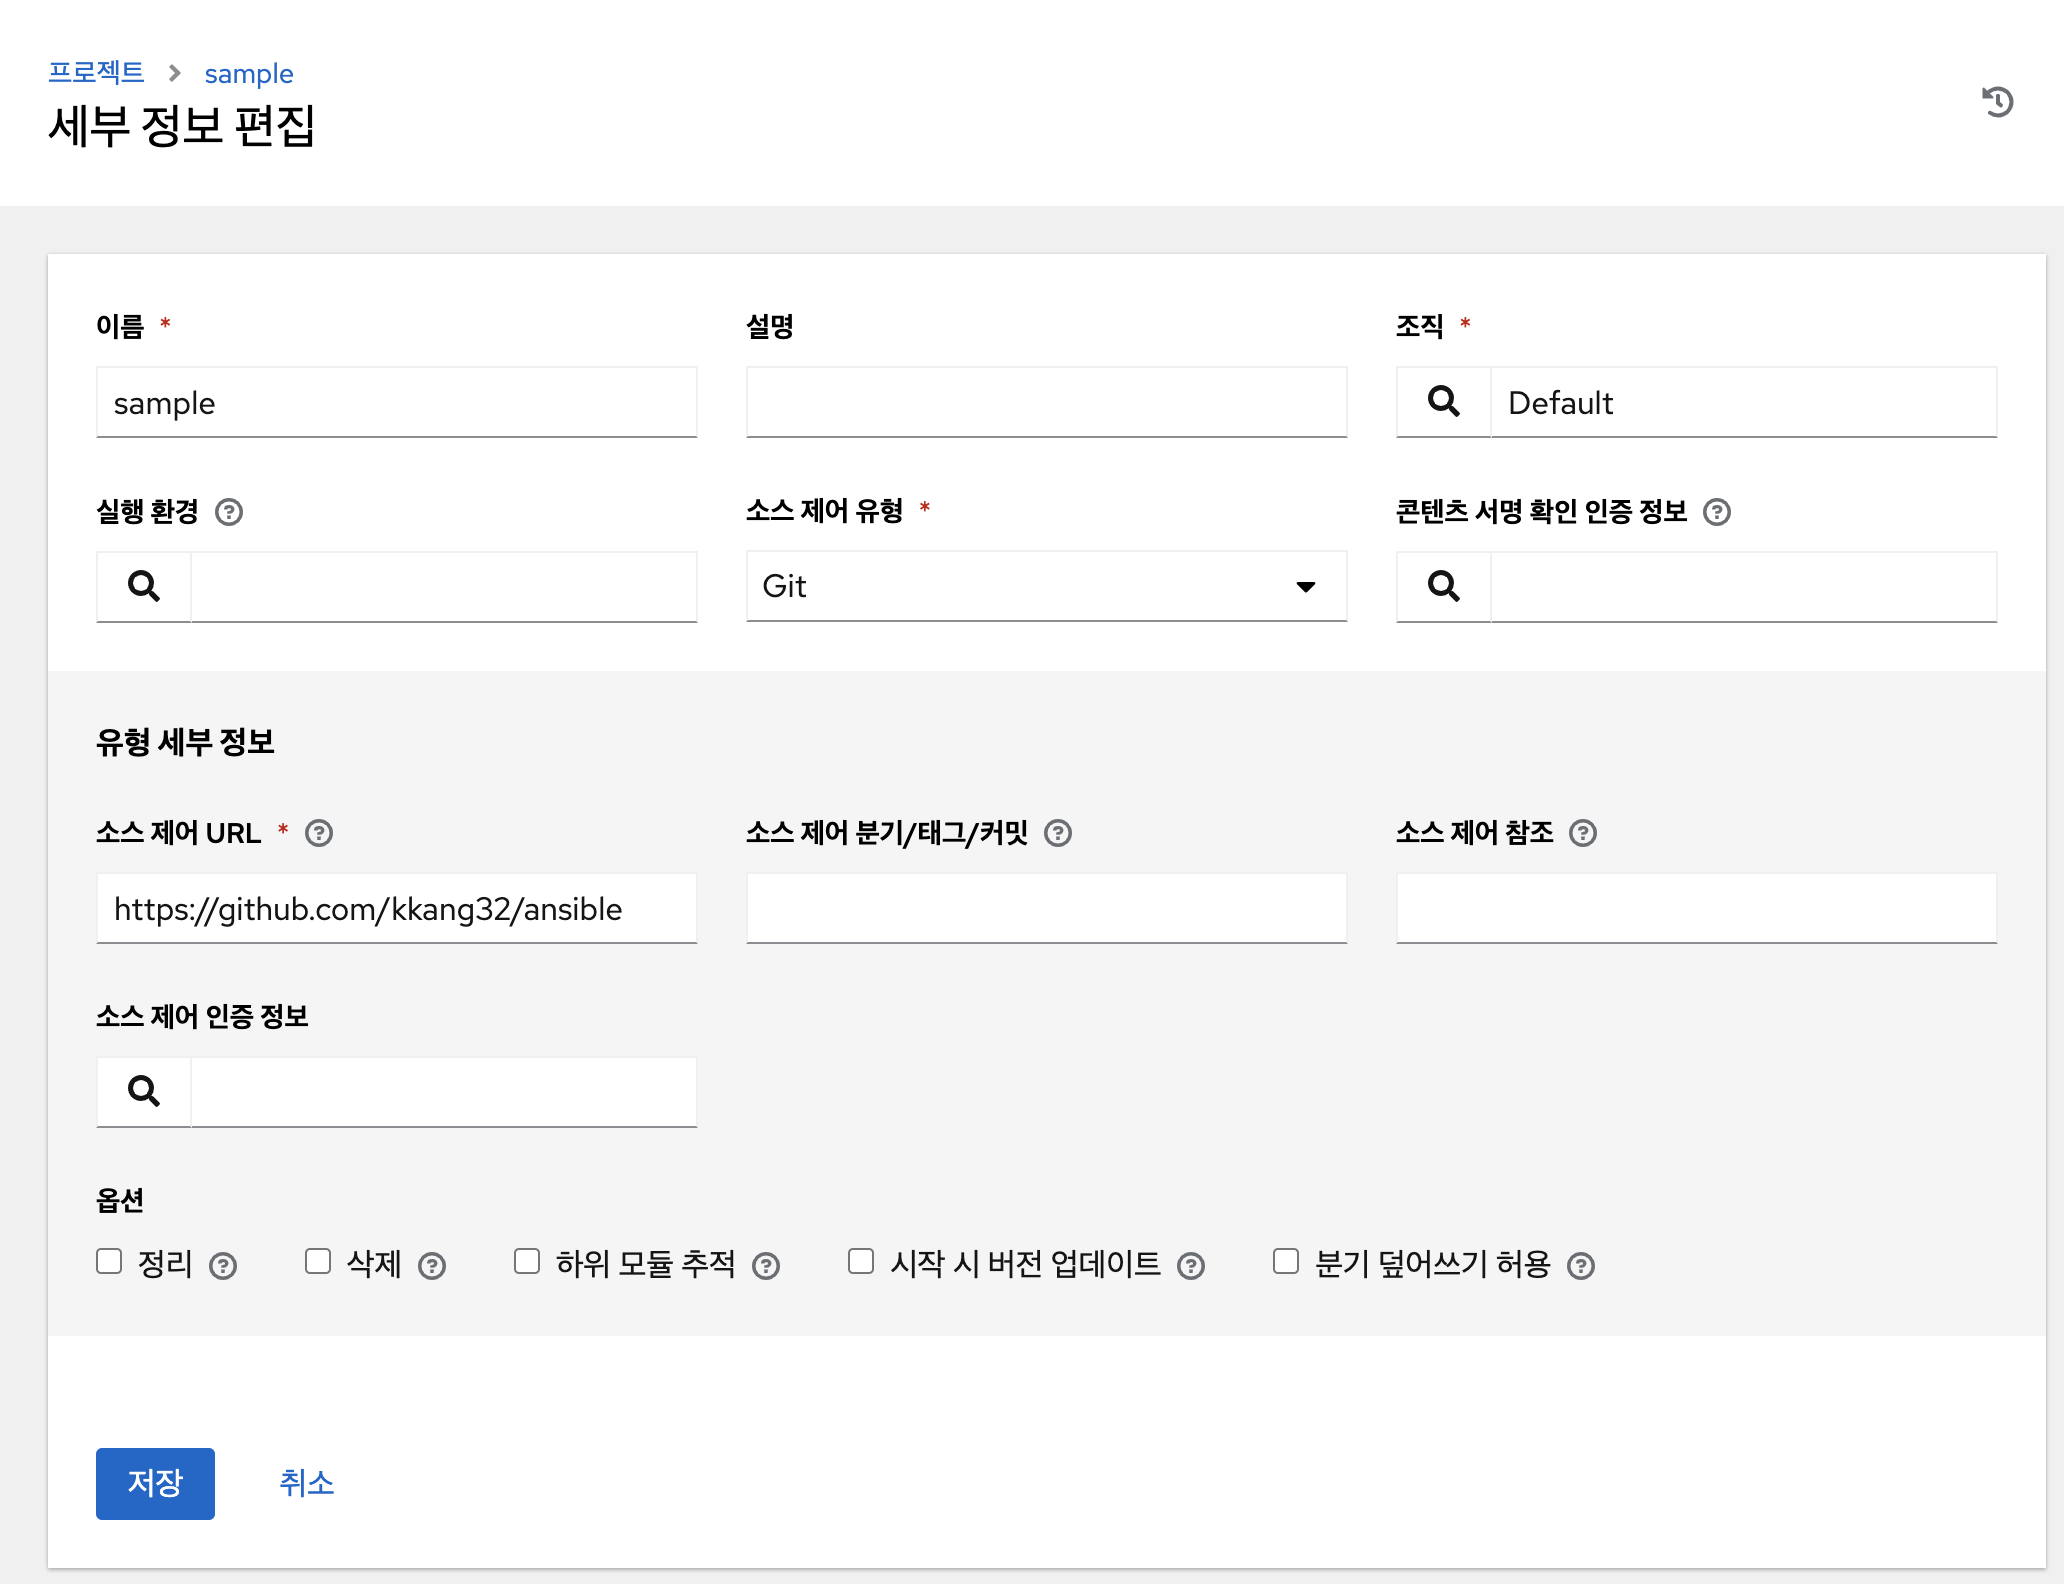
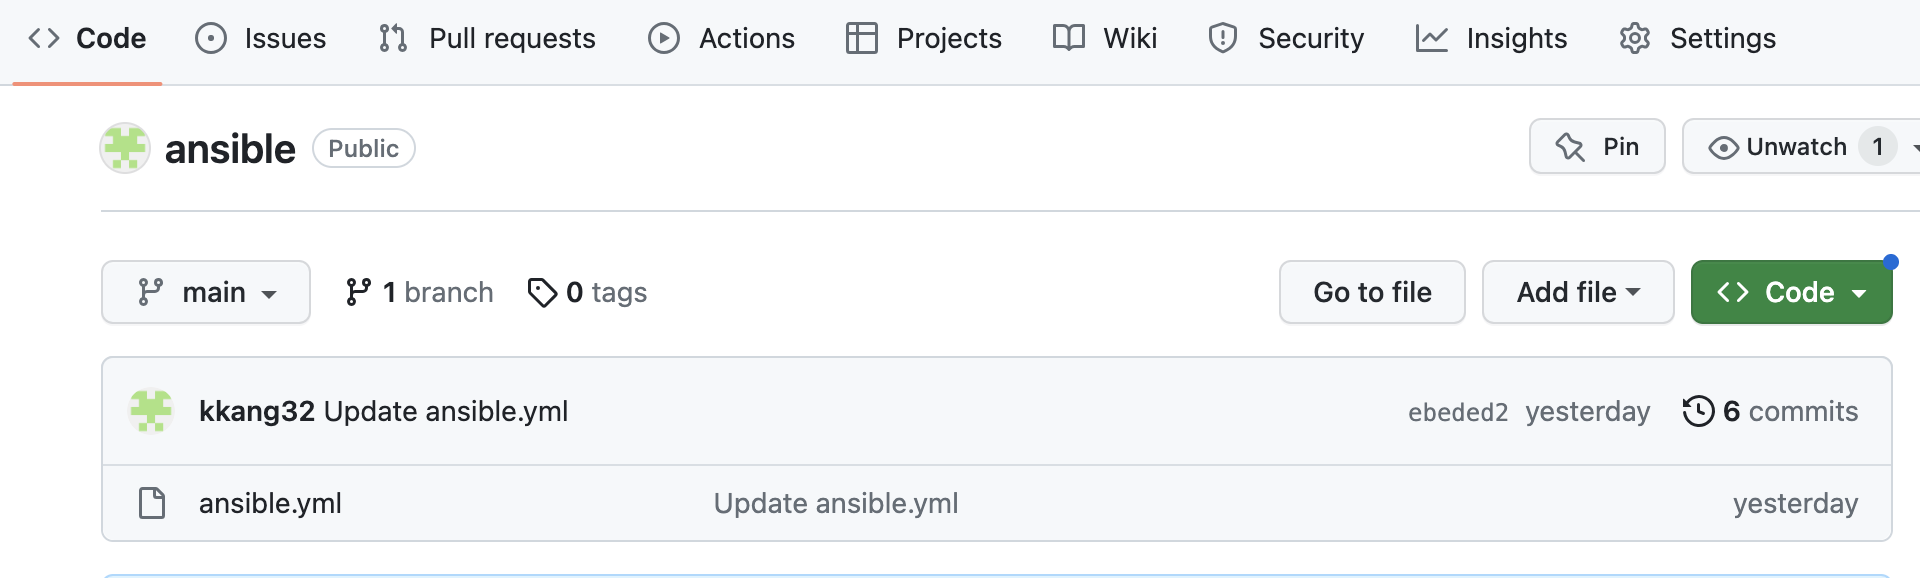
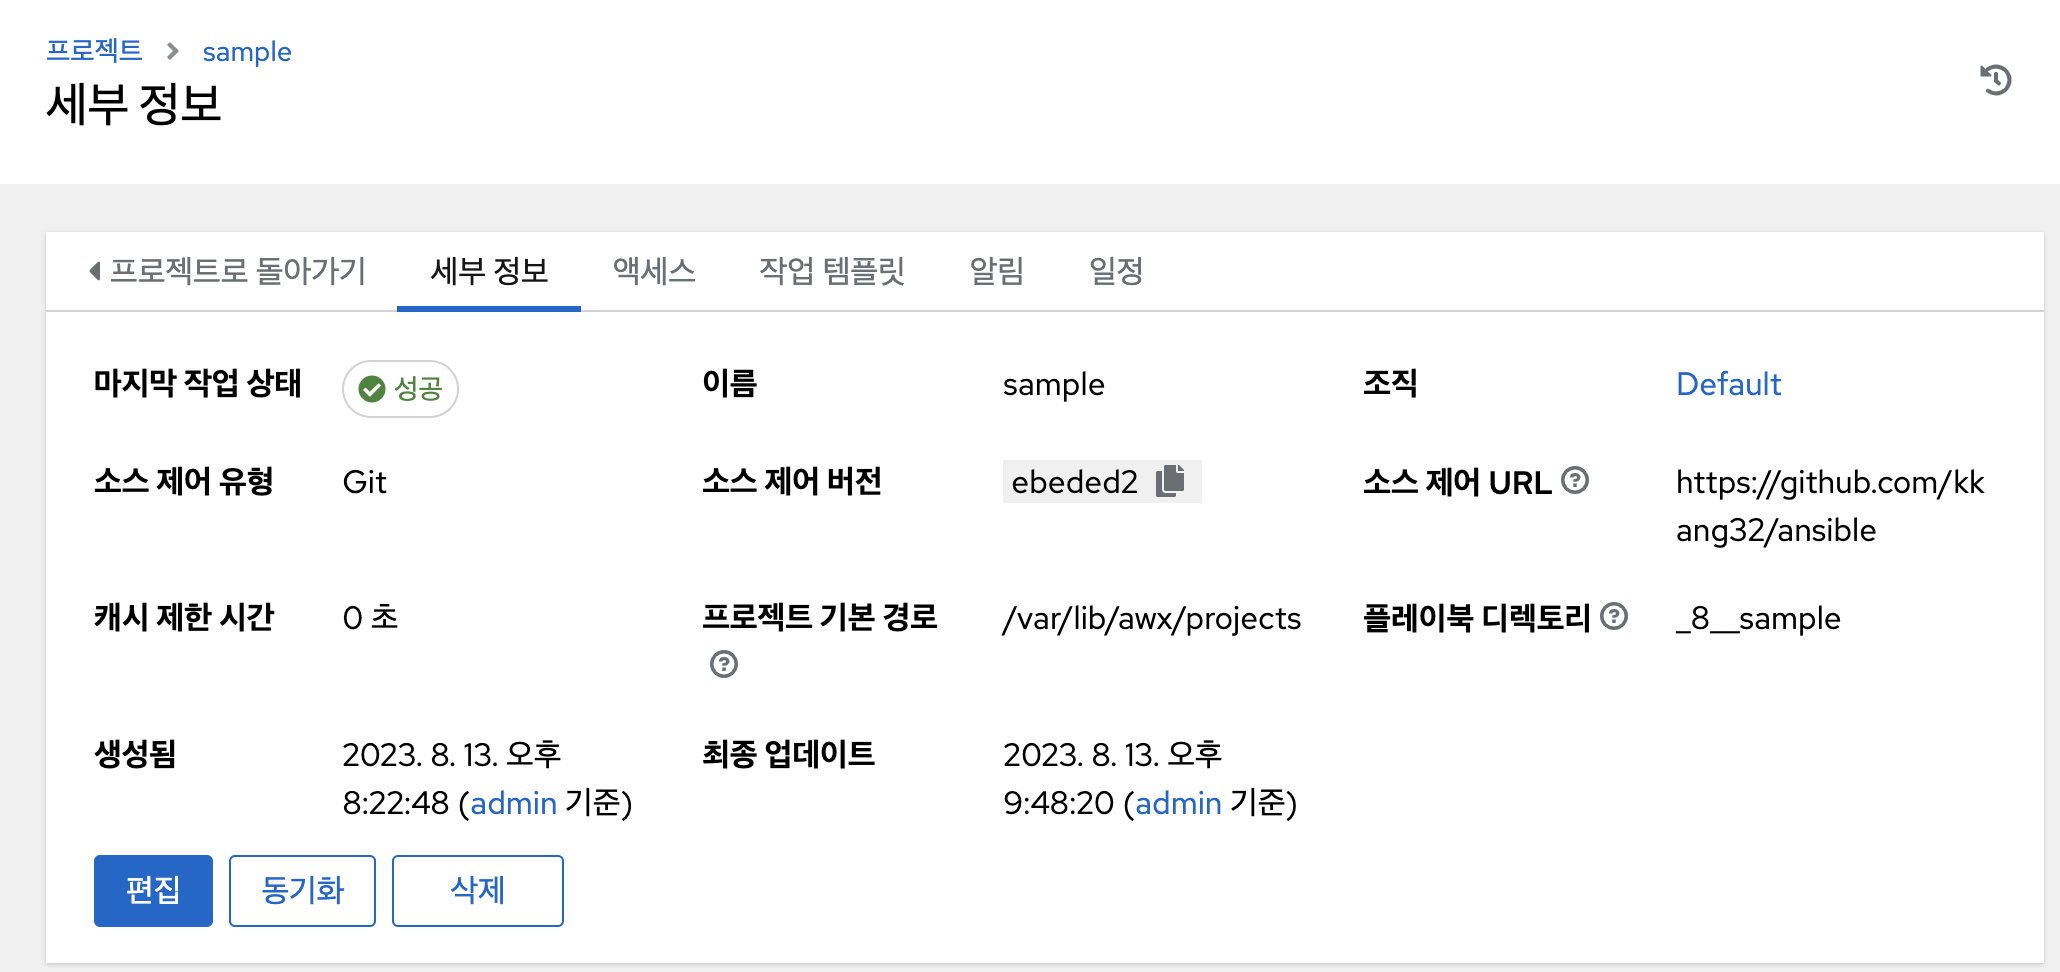
프로젝트 등록
 )
)
git 저장소
소스 동기화
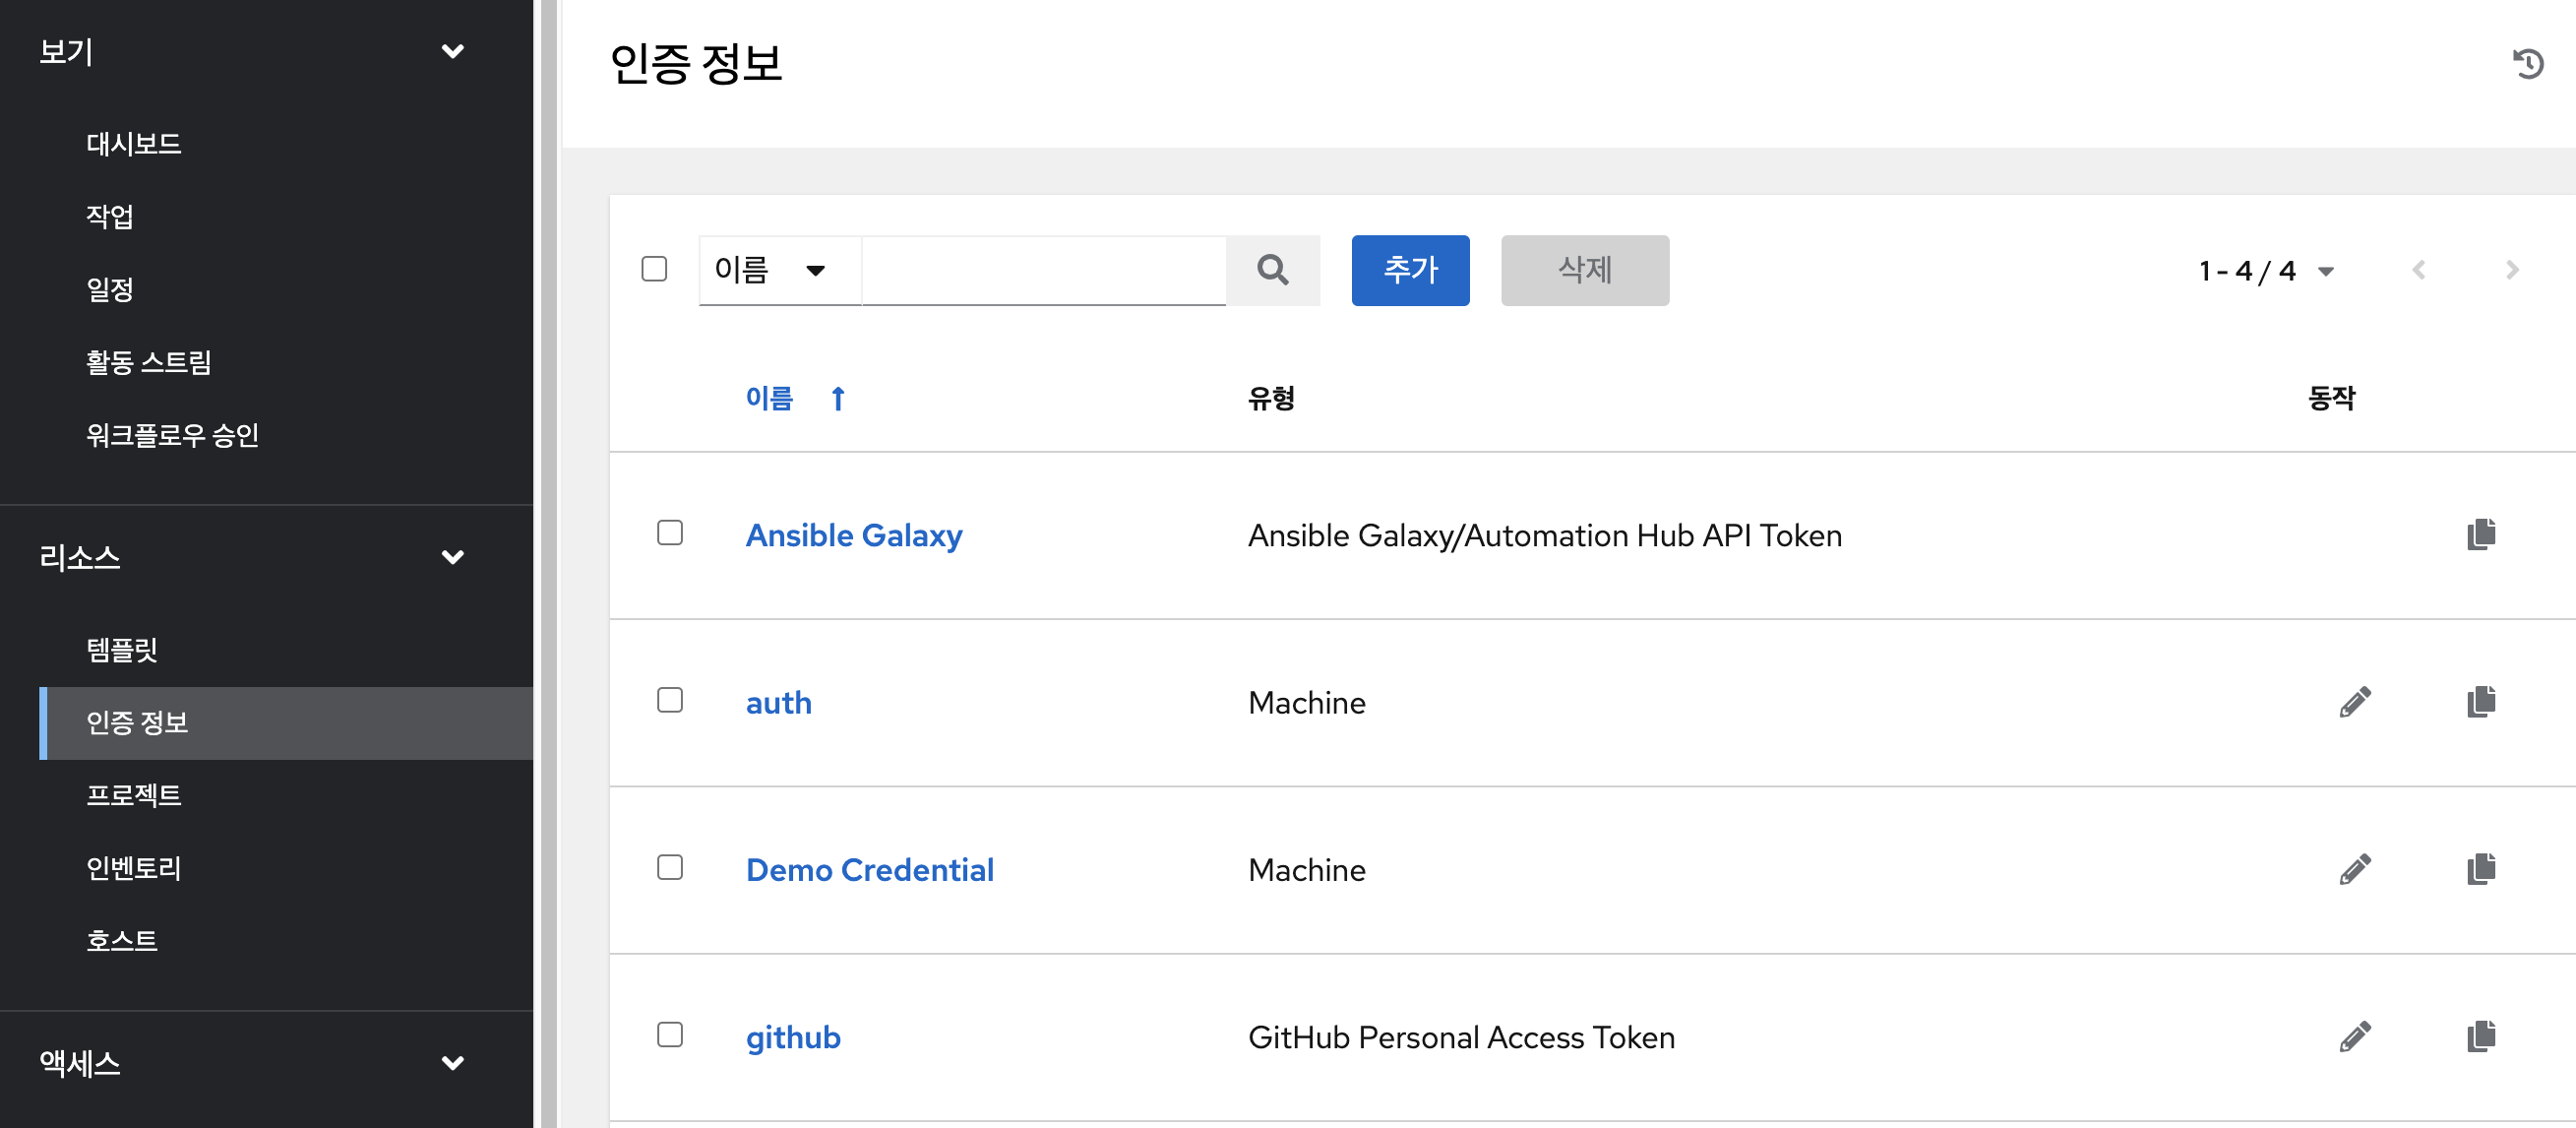
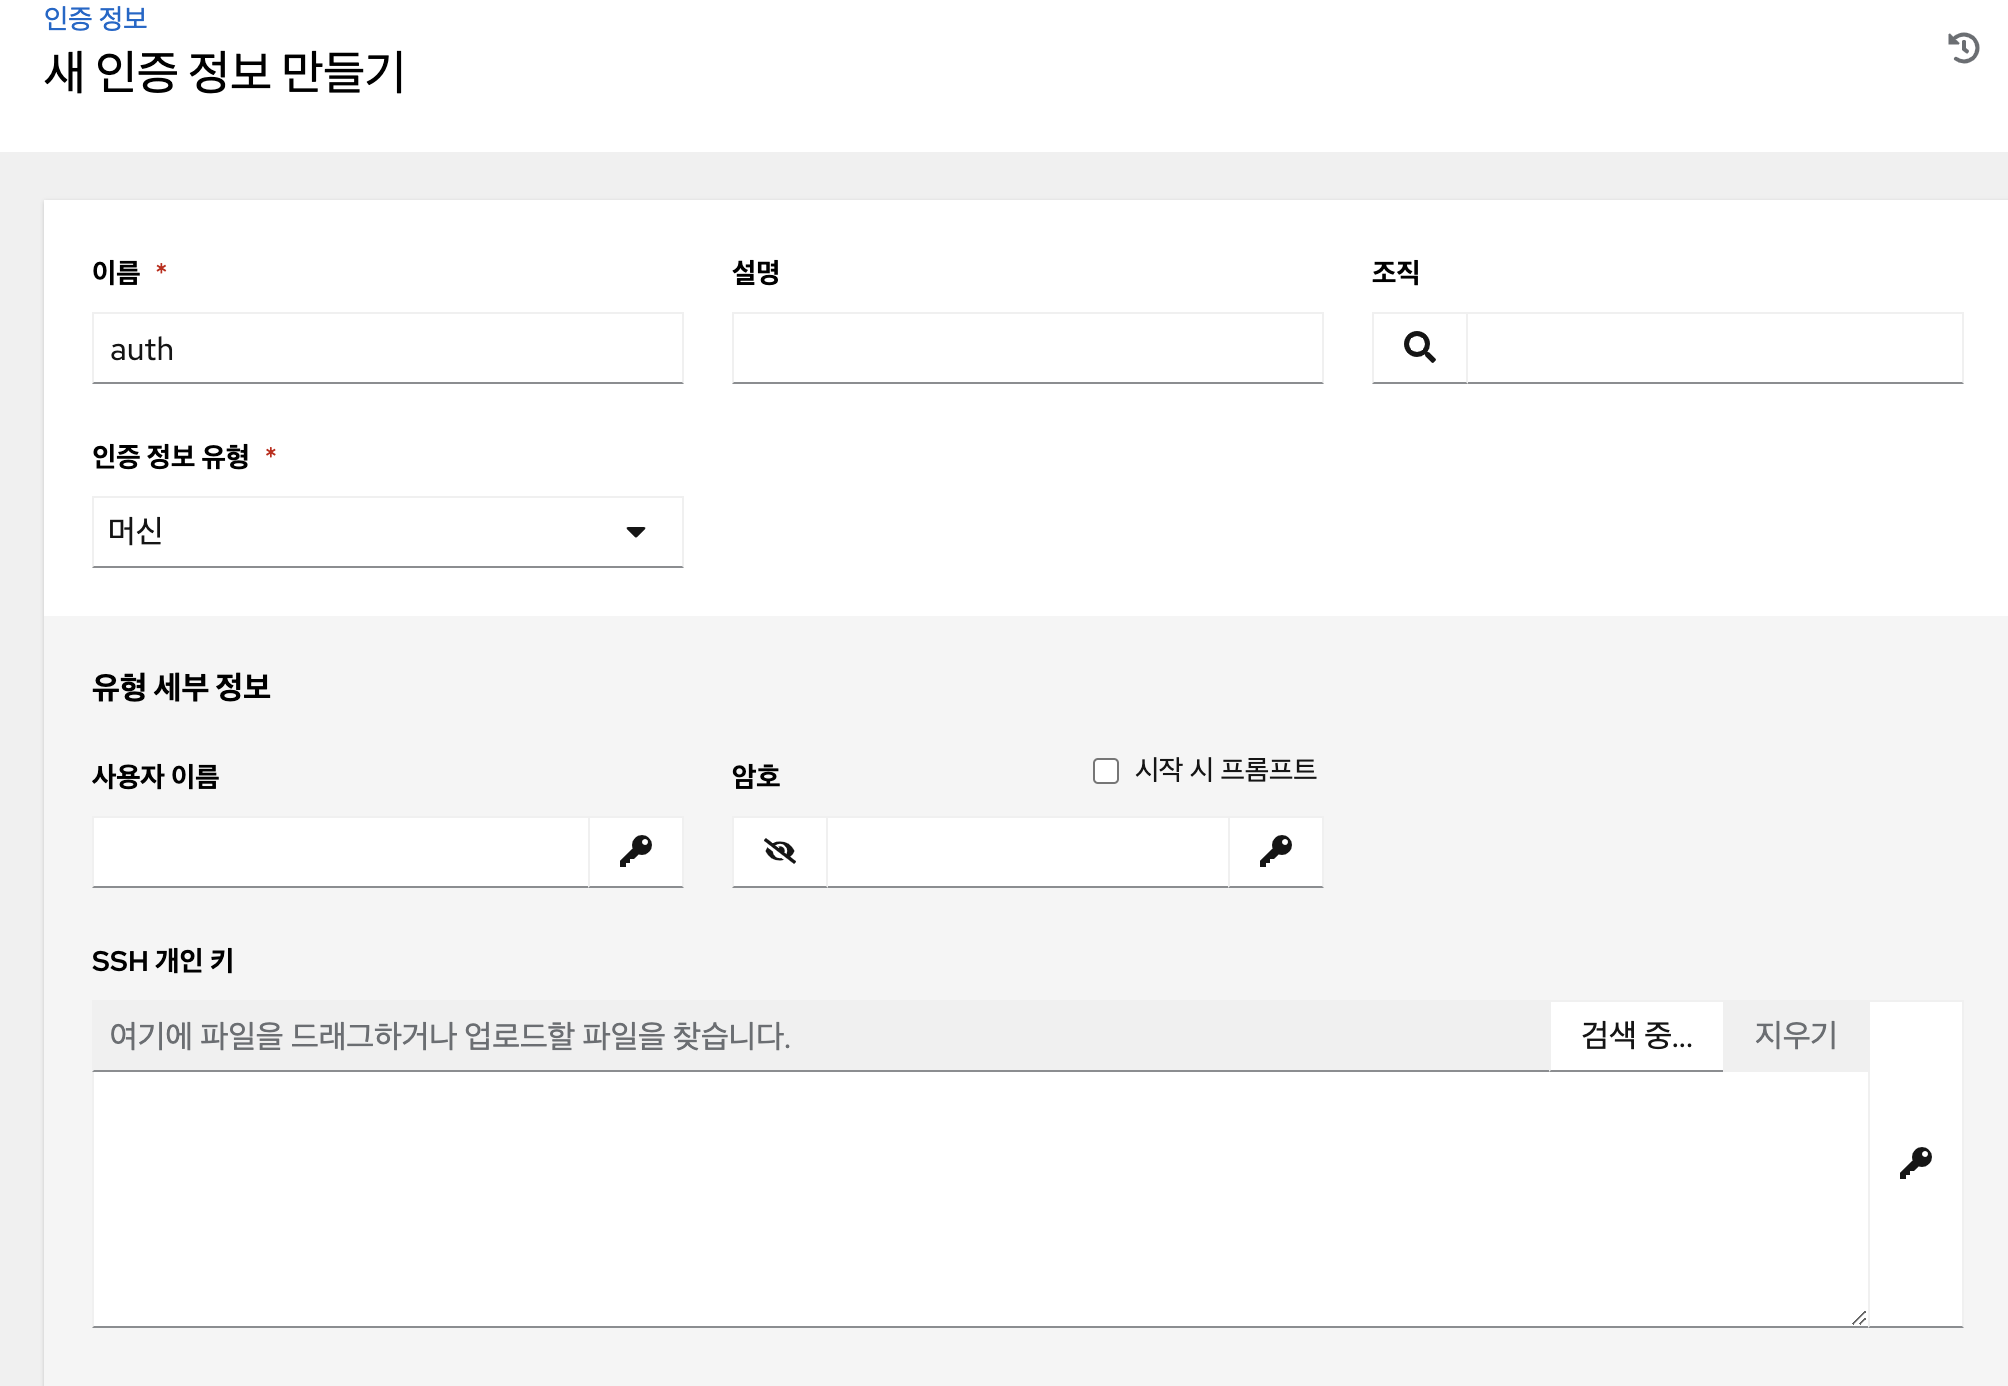
인증정보 등록
-
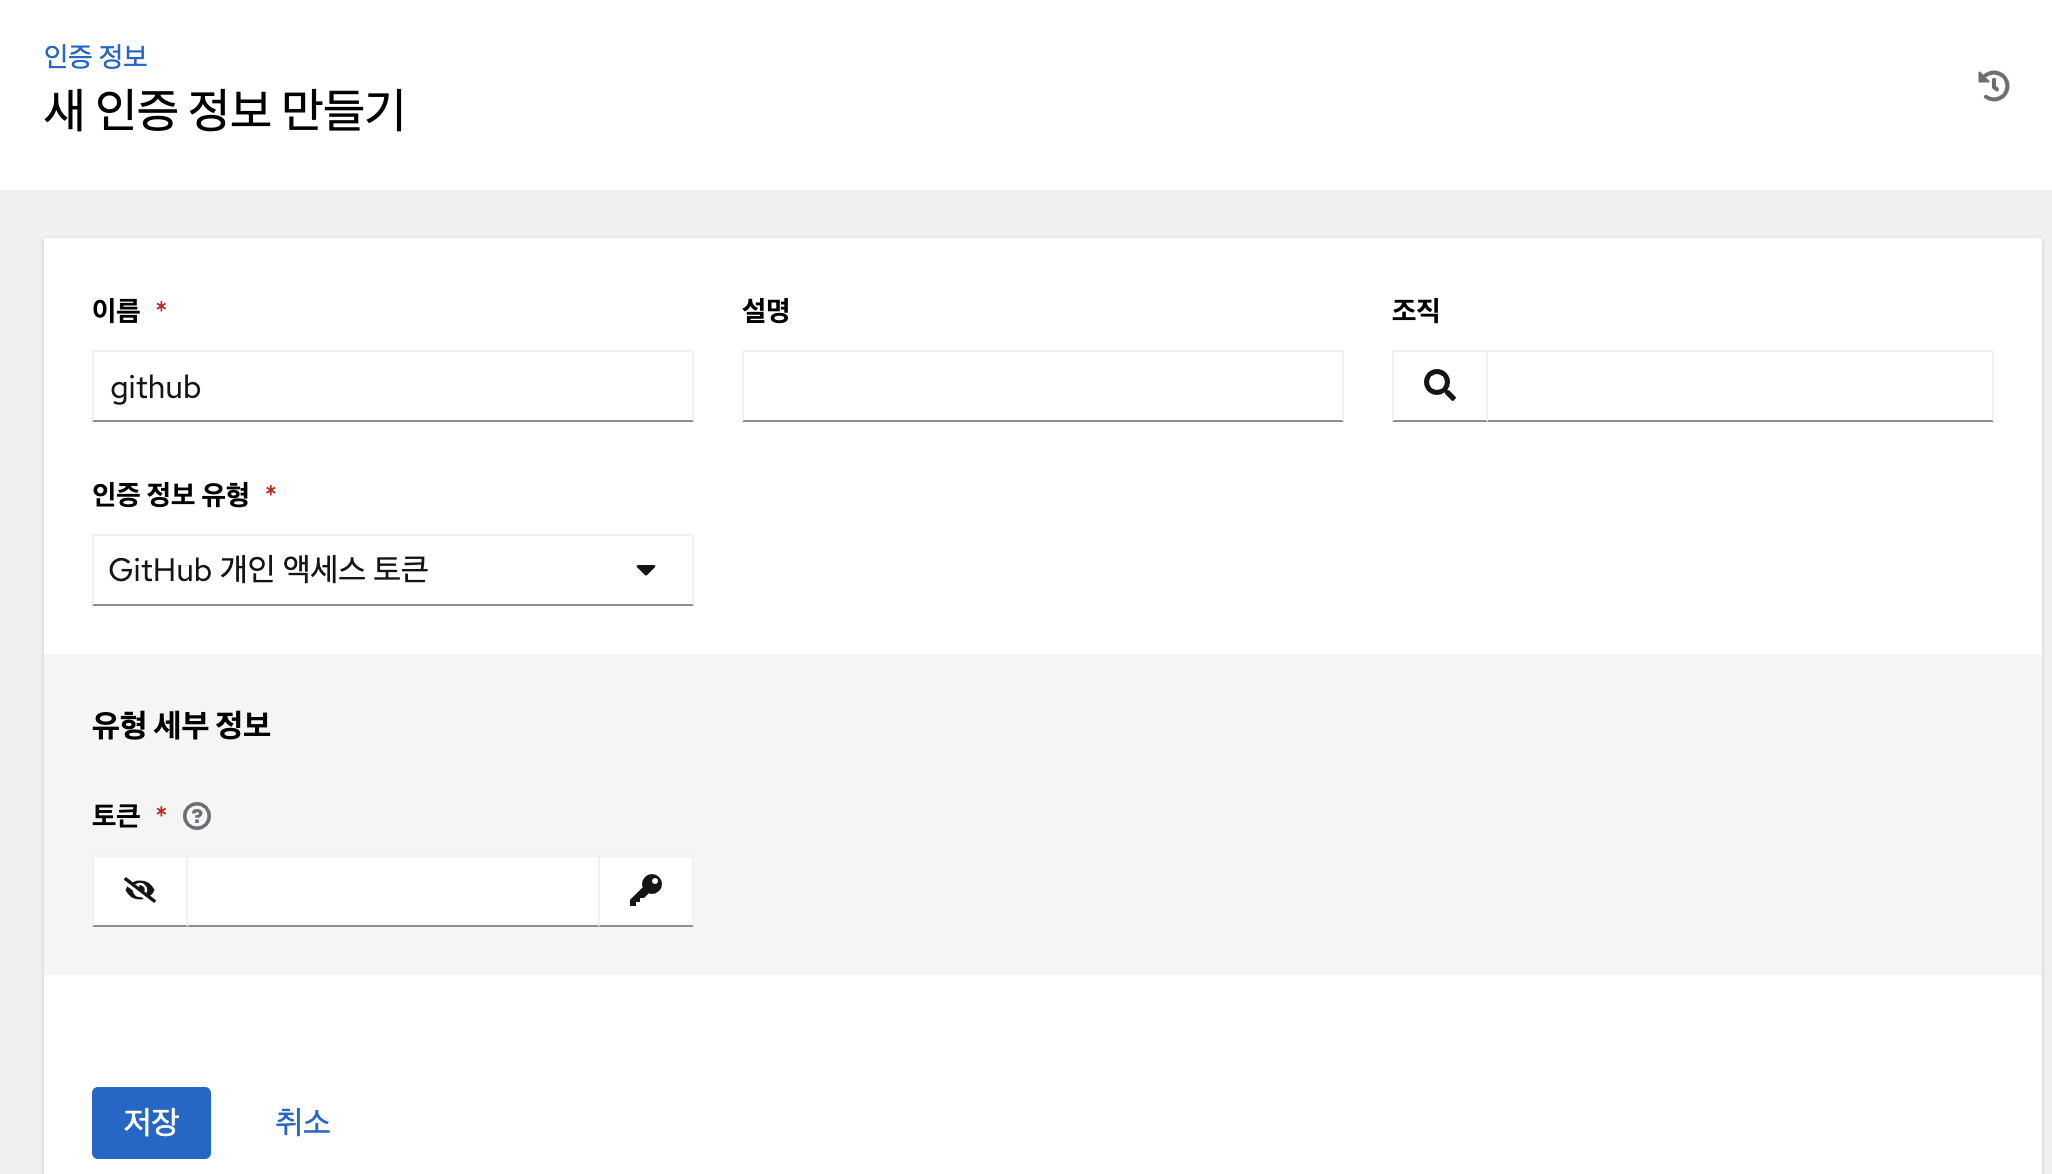
github 인증정보 등록
- https://github.com/settings/security -> Developer settings

- awx에 github 인증정보 등록
- https://github.com/settings/security -> Developer settings
-
SSH 키 등록(머신인증)
- RSA 키 생성(AWX 가 설치된 서버)
ssh-keygen -t rsa- 배포할 서버에 공개키 등록
ssh-copy-id -i ~/.ssh/id_rsa.pub root@목적IP- AWX 에 개인키 등록
cat ~/.ssh/id_rsa출력되는 값을 아래에 복사
인벤토리 등록
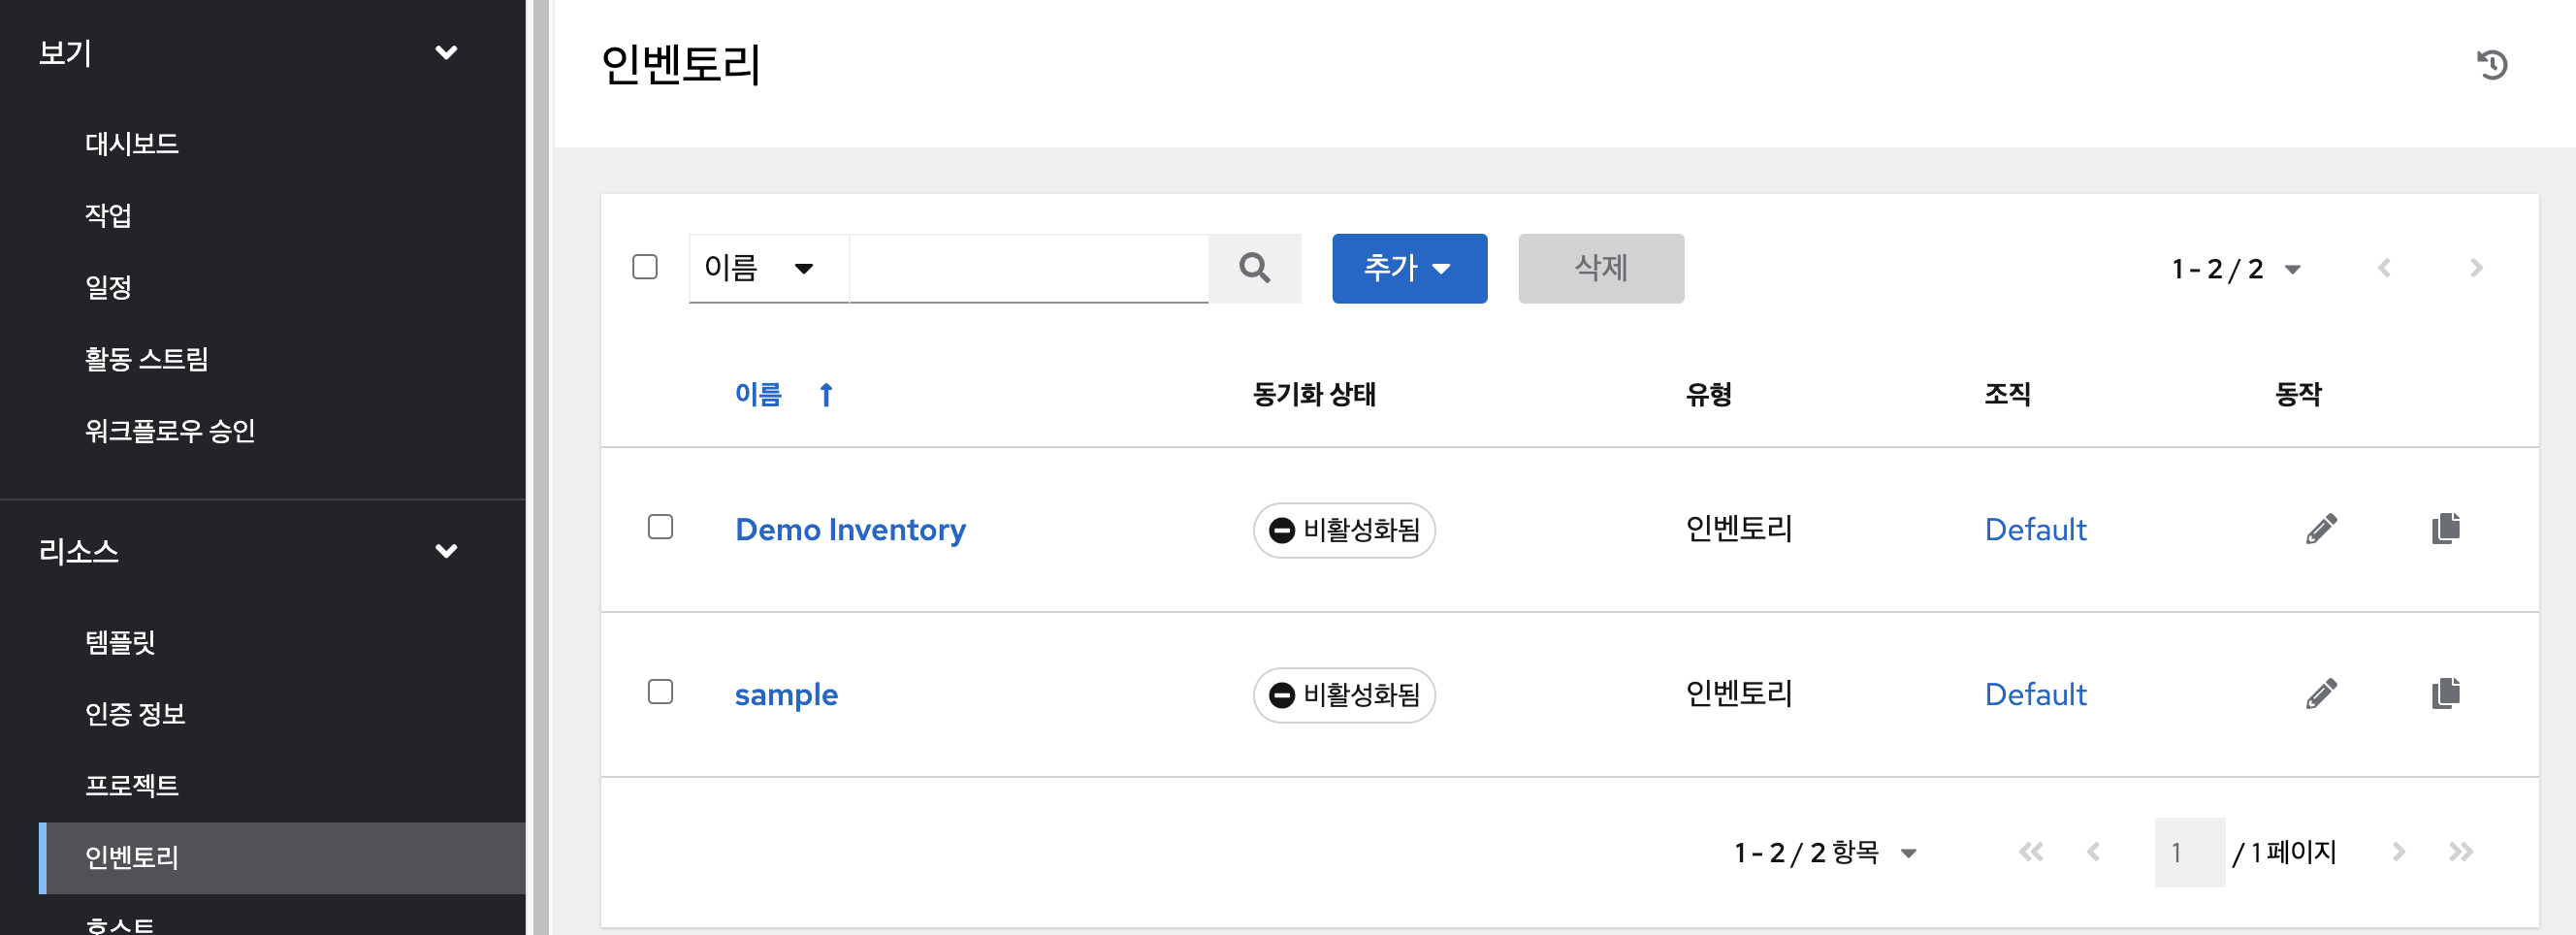
- 호스트 등록
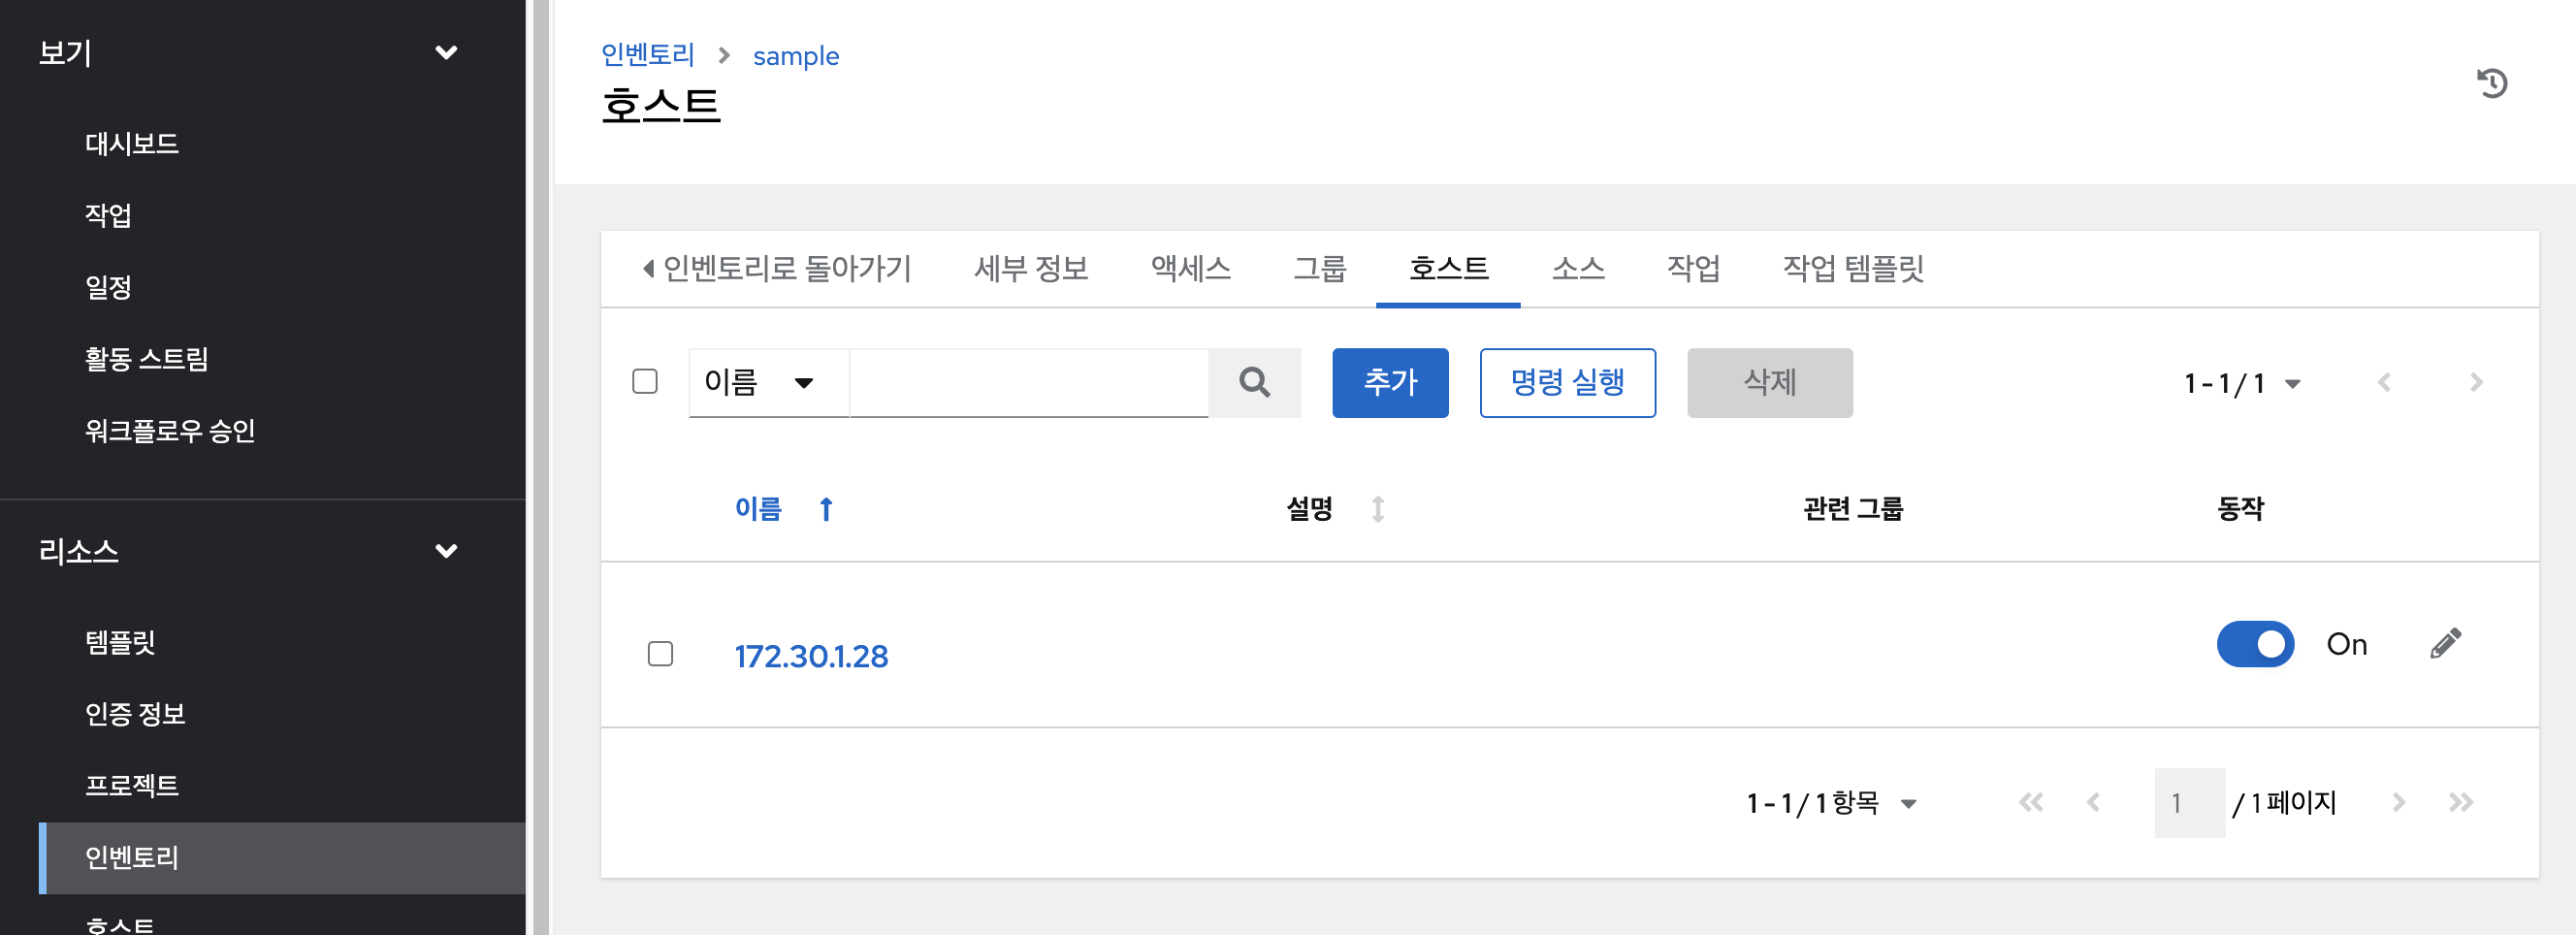
- 명령 실행(테스트)

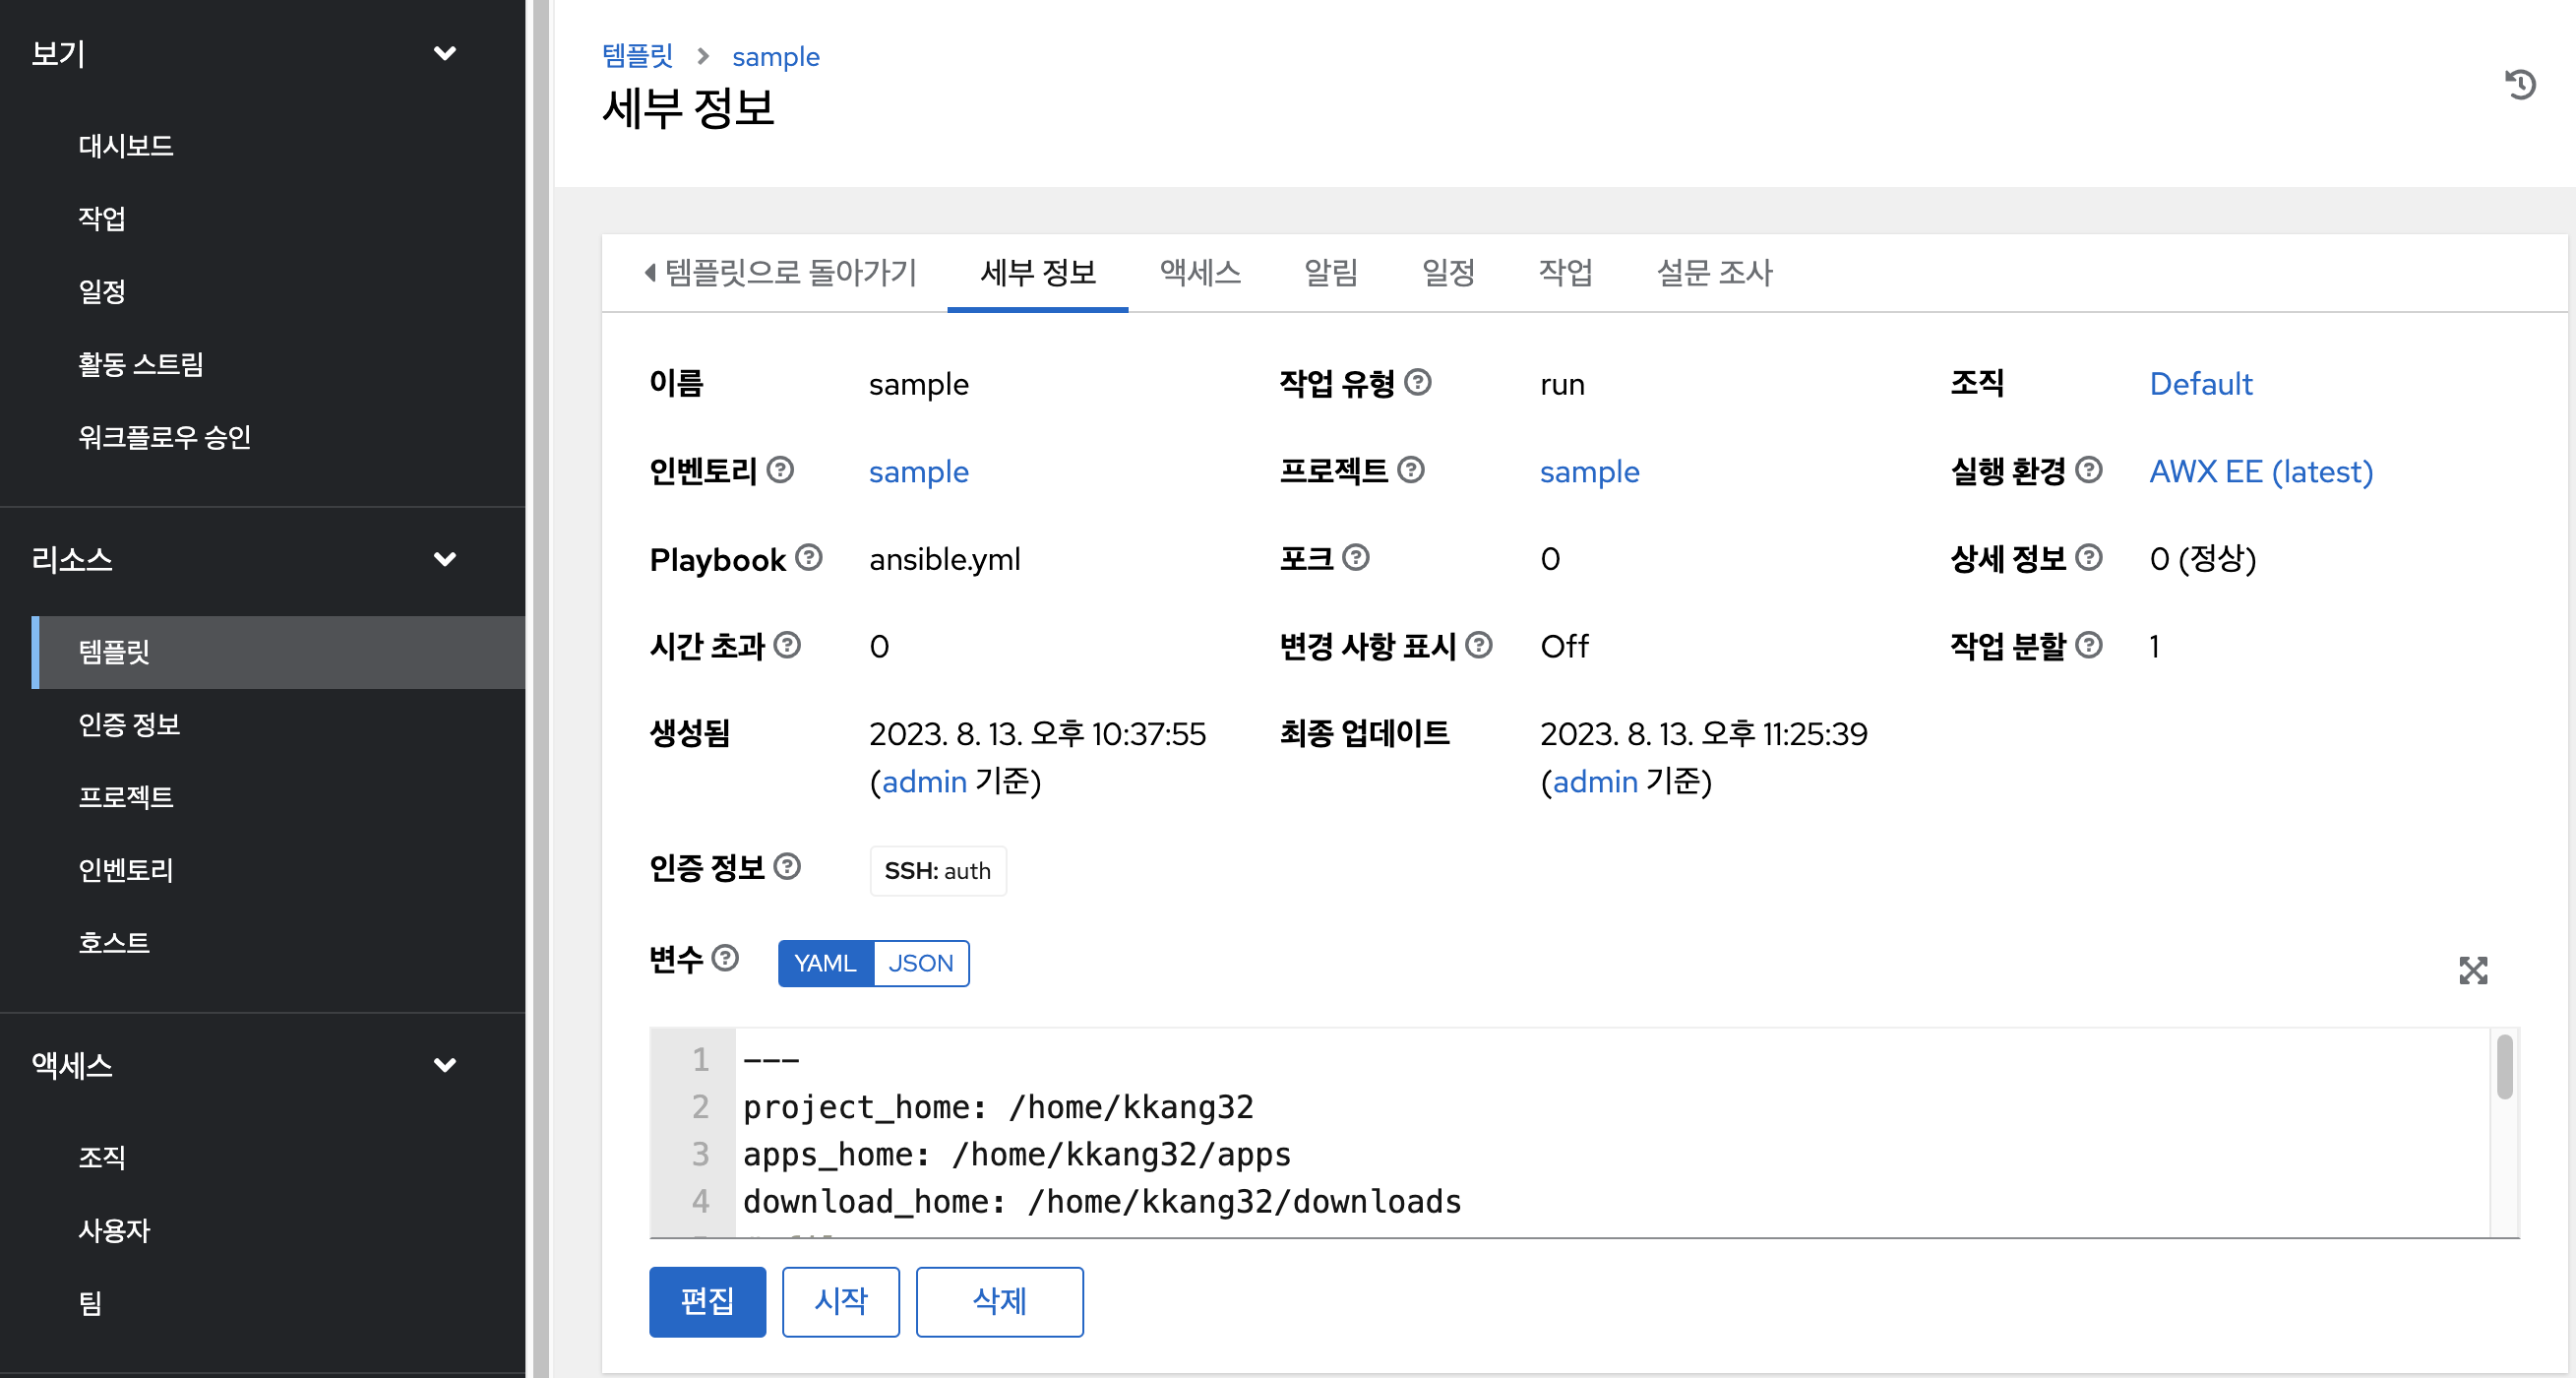
작업 템플릿 만들기
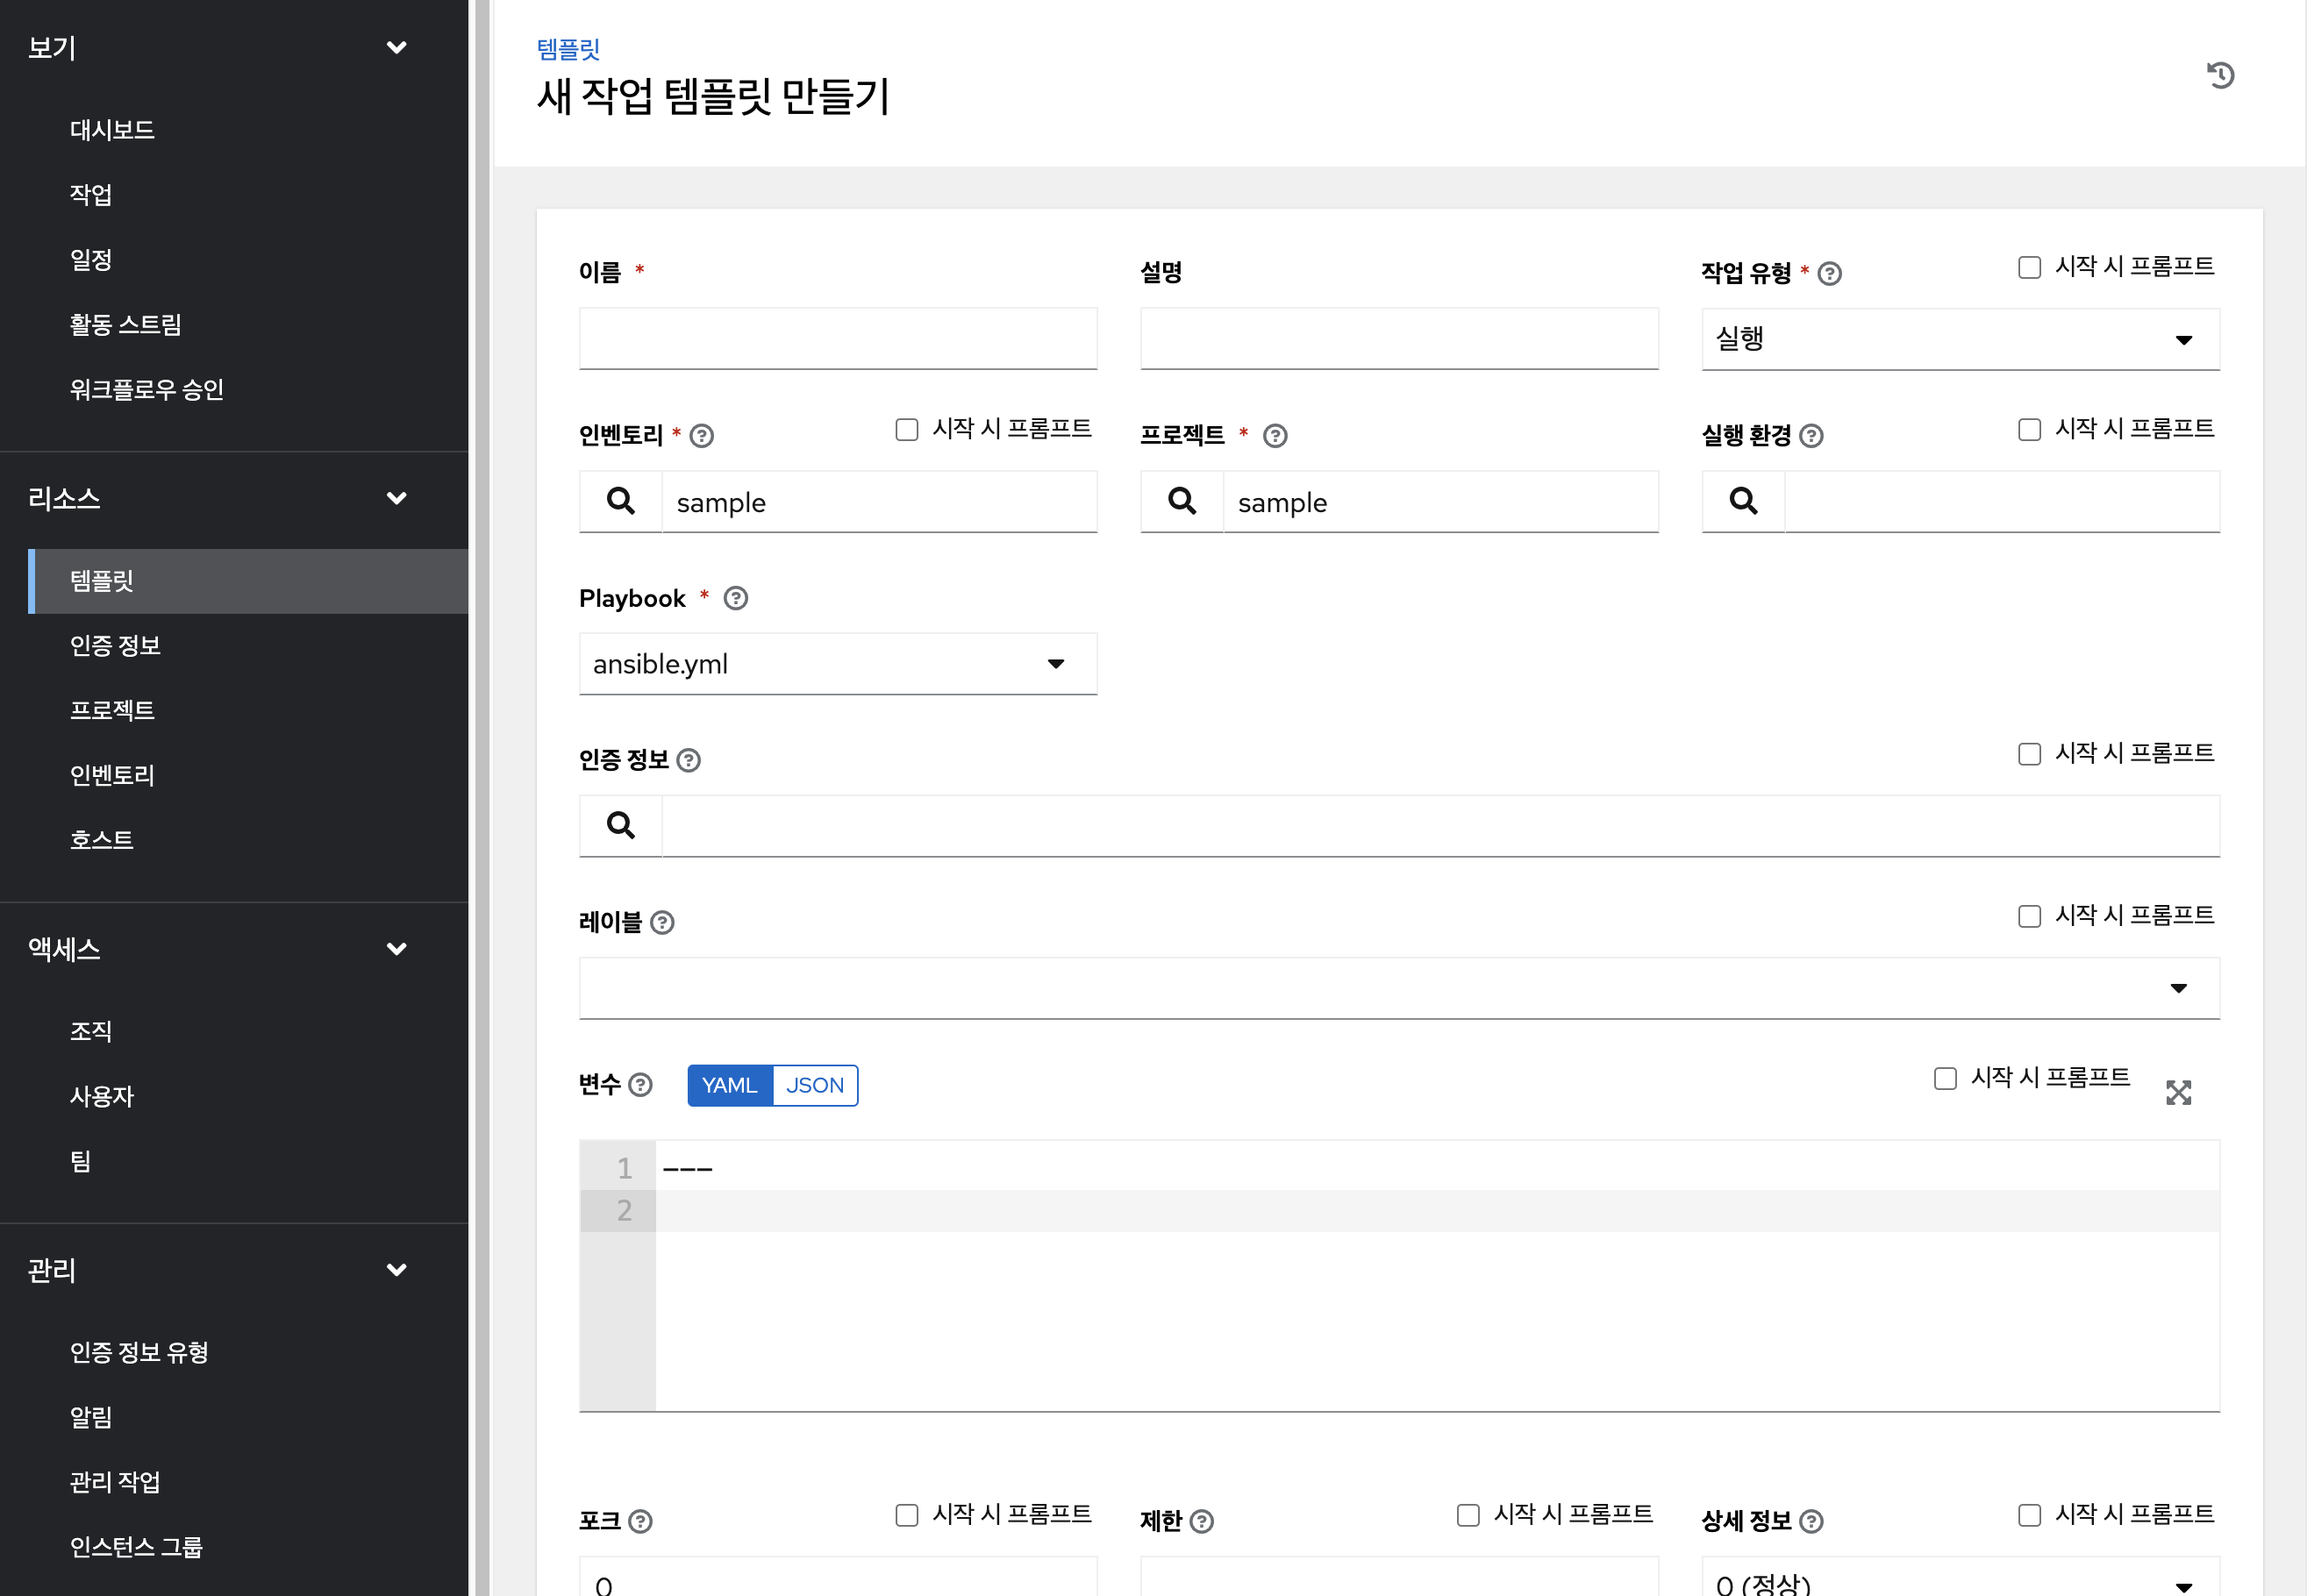
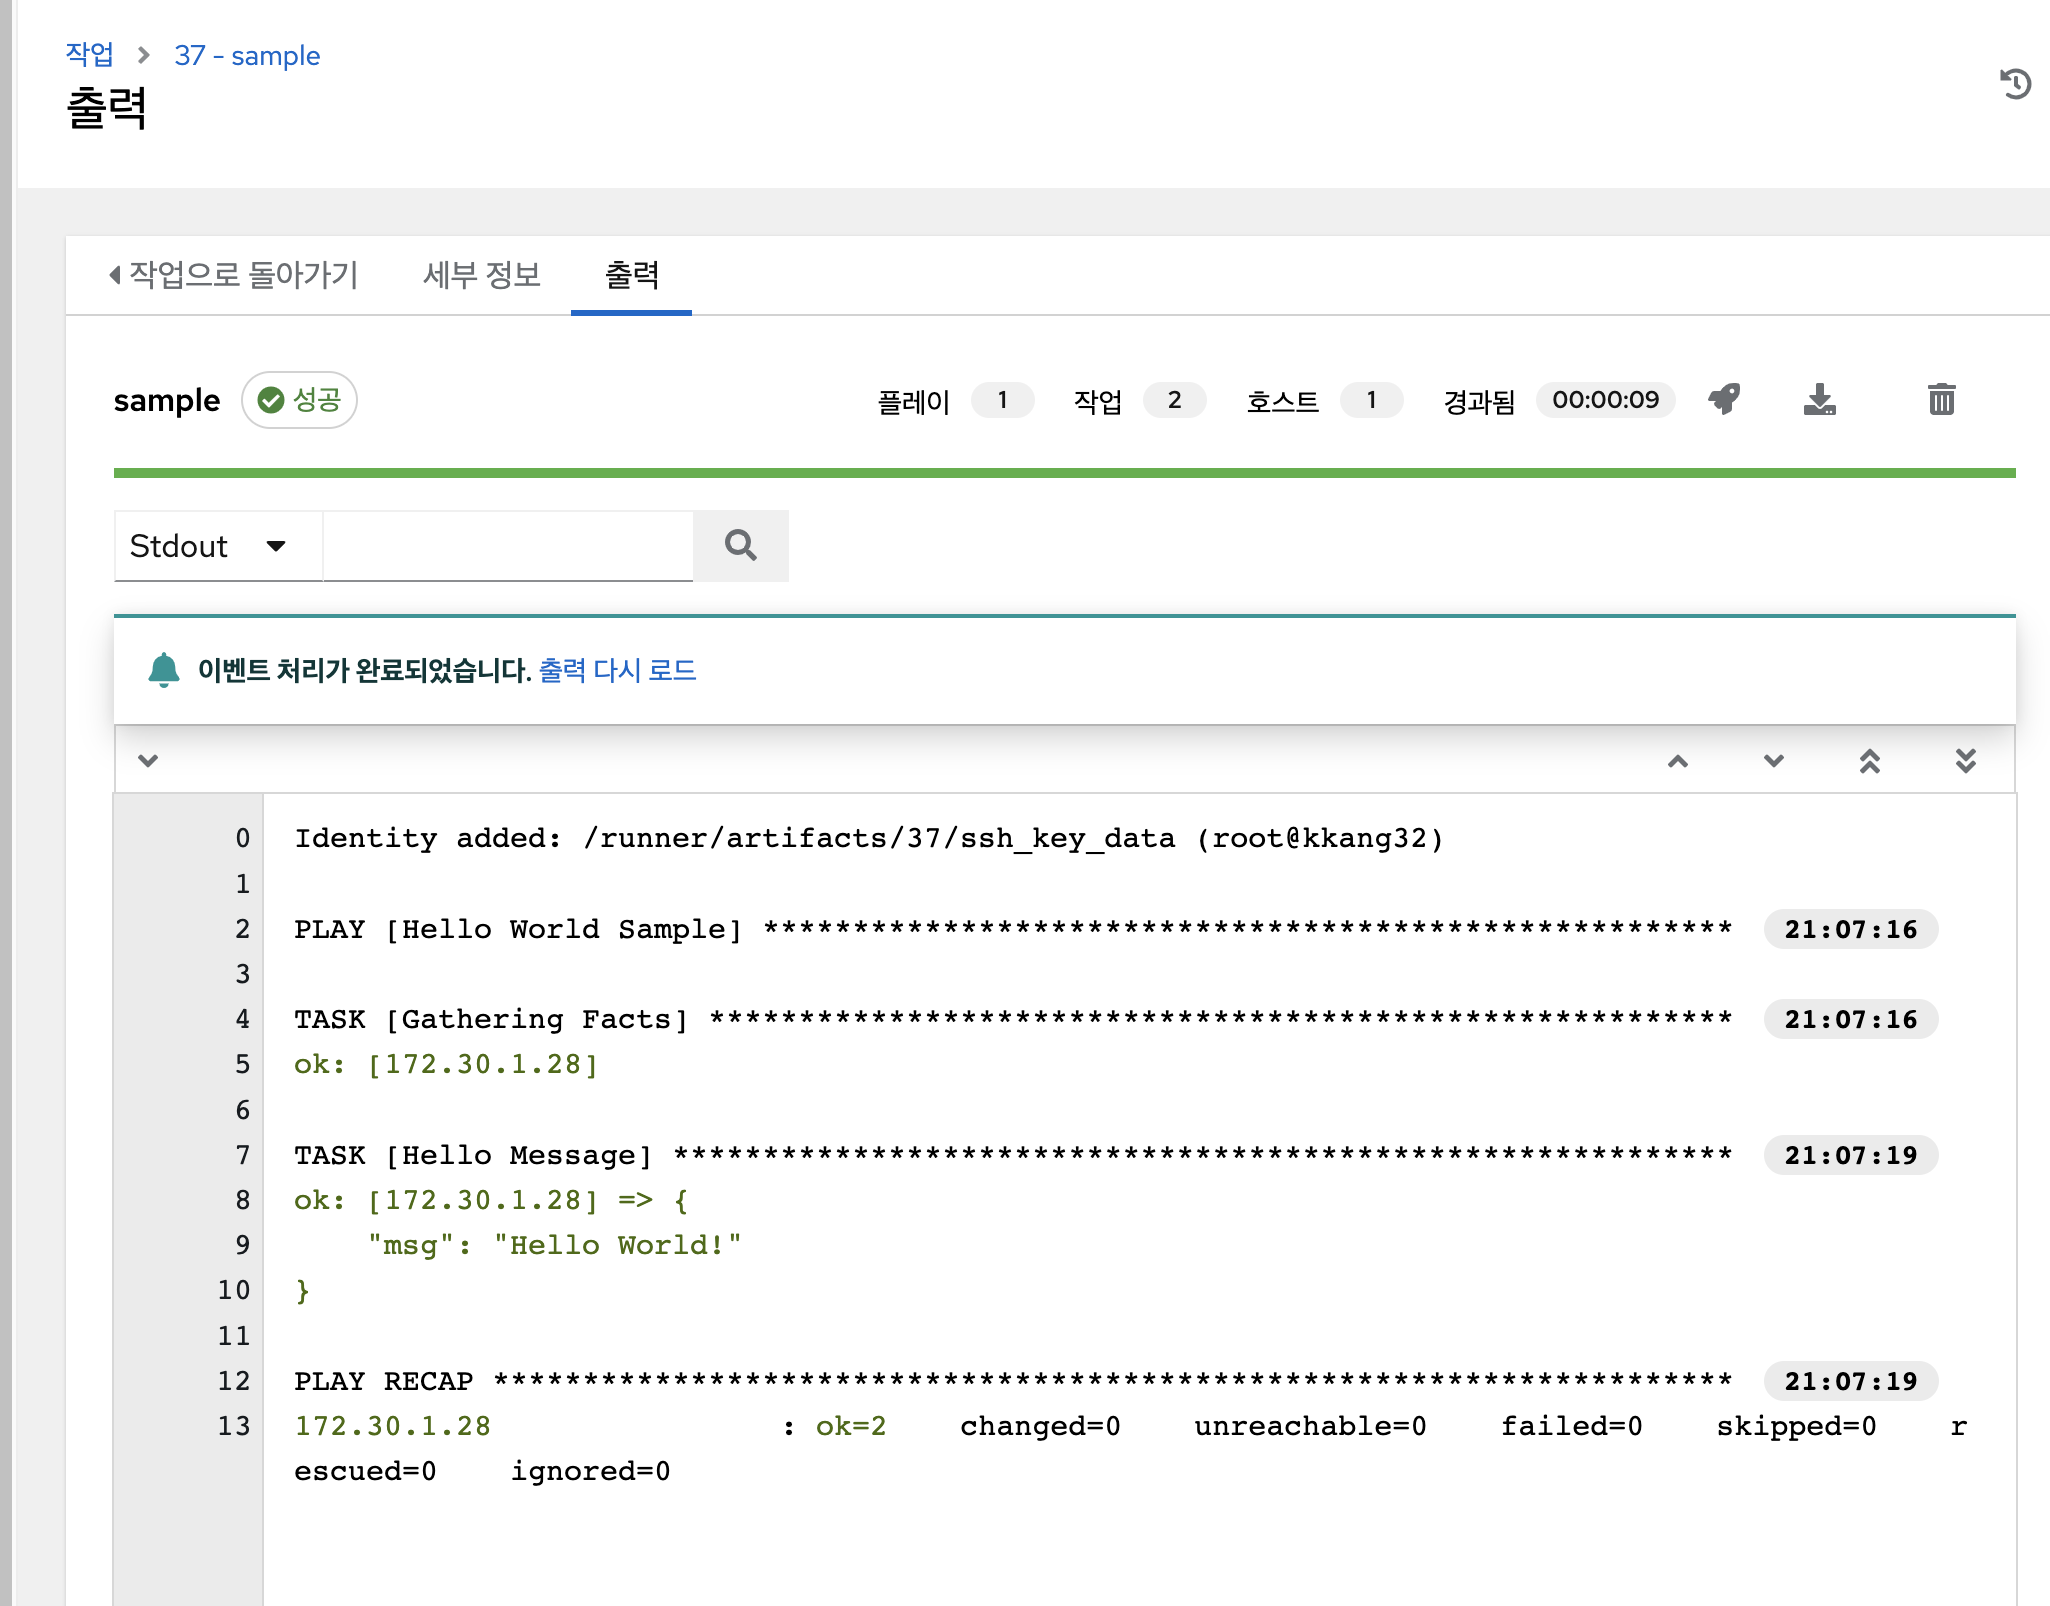
playbook 샘플
- name: Hello World Sample
  hosts: all
  tasks:
    - name: Hello Message
      debug:
        msg: "Hello World!"
- 프로젝트 ->
sample-> 동기화 - 템플릿 시작
playbook 구조
- name
- play의 용도를 설명하는 부분
- optional
- hosts
- play가 실행될 대상 호스트 지정.
- tasks
- 실제 명령이 들어가는 부분
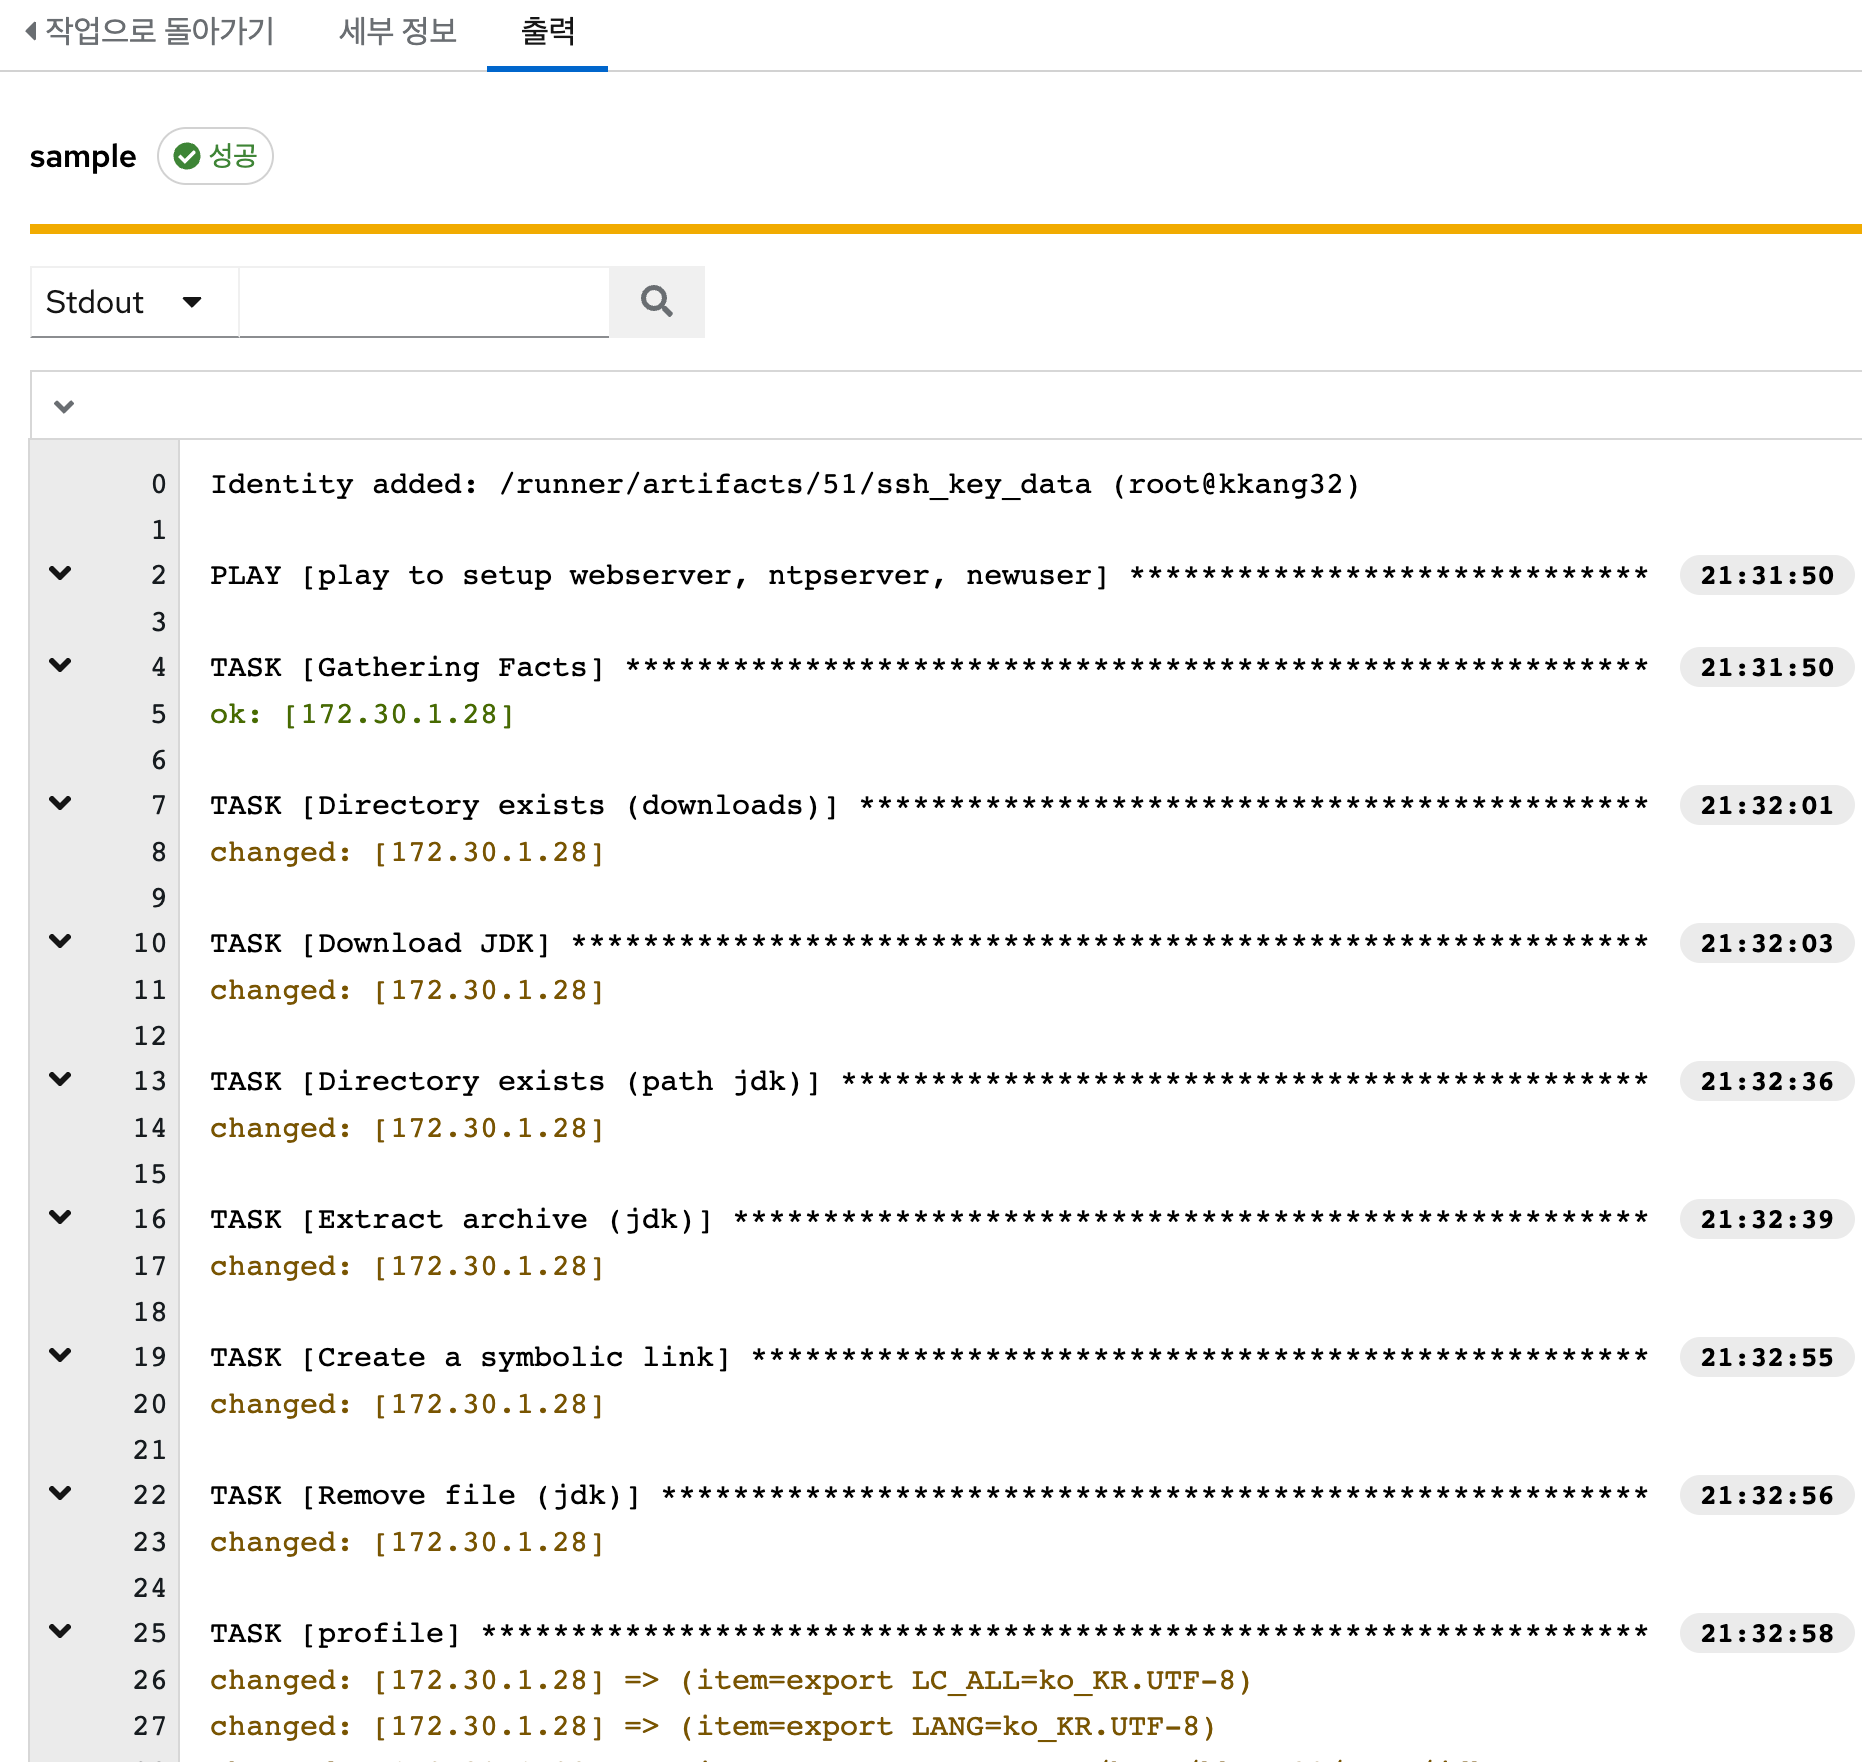
예시
---
- name: play to setup webserver, ntpserver, newuser
  hosts: all
  tasks:
    - name: Directory exists (downloads)
      file:
        path: ""
        state: directory

    - name: Download JDK
      get_url:
        url: "https://github.com/AdoptOpenJDK/openjdk8-binaries/releases/download/jdk8u265-b01/.tar.gz"
        dest: "/.tar.gz"
        mode: 0755
문법 맛보기
변수 사용
tasks 섹션 전에 vars 섹션으로 변수를 정의
vars:
  hello: Hello
tasks:
  - name: Hello World
    debug: msg=“ Ansible”
조건 분기 실행 (when)
tasks에서 모듈명 다음 줄에 when 을 기술하여 모듈의 실행 조건을 정의
vars:
  hello: Hello
tasks:
  - name: Hello World
    debug: msg=“ Ansible”
    when:
      - ansible_distribution == "CentOS"
      - ansible_distribution_major_version == "7"
반복문(loop)
loop 다음줄에 오는 명령들을 실행
#단순 반복문
- name: test1
  hosts: web1.example.com
  tasks:
    - name: postfix and httpd are running
      service:
        - name: ""
          state: started
      loop:
        - postfix
        - httpd

#변수 사용

- name: test1
  hosts: web1.example.com

  vars:
    check_services:
      - postfix
      - httpd

  tasks:
    - name: postfix and httpd are running
      service:
        - name: ""
          state: started
      loop: ""
별도파일 include
tasks, name 등을 별도 파일에 정의 해놓고 재사용 할 수 있다.
#playbook/site.yml

---
- include: webservers.yml
- include: dbservers.yml

#webservers.yml
---
- hosts: webservers
  tasks:
    - name: postfix and httpd are running
기타
- ansible galaxy : https://galaxy.ansible.com/
- yml 구문 규칙 : https://docs.ansible.com/ansible/latest/reference_appendices/YAMLSyntax.html
- ansible 단독 설치 : https://docs.ansible.com/ansible/latest/getting_started/index.html
https://github.com/ansible/ansible https://github.com/ansible/awx https://github.com/ansible/awx-operator/blob/devel/docs/installation/basic-install.md#basic-install https://www.linuxtechi.com/install-ansible-awx-on-ubuntu/ https://www.joinc.co.kr/w/man/12/kubernetes/minikube https://minikube.sigs.k8s.io/docs/start/ https://docs.ansible.com/ansible/latest/playbook_guide/playbooks_intro.html#playbook-syntax https://watch-n-learn.tistory.com/80 https://docs.ansible.com/ansible/latest/reference_appendices/YAMLSyntax.html